This is an intervening paragraph.

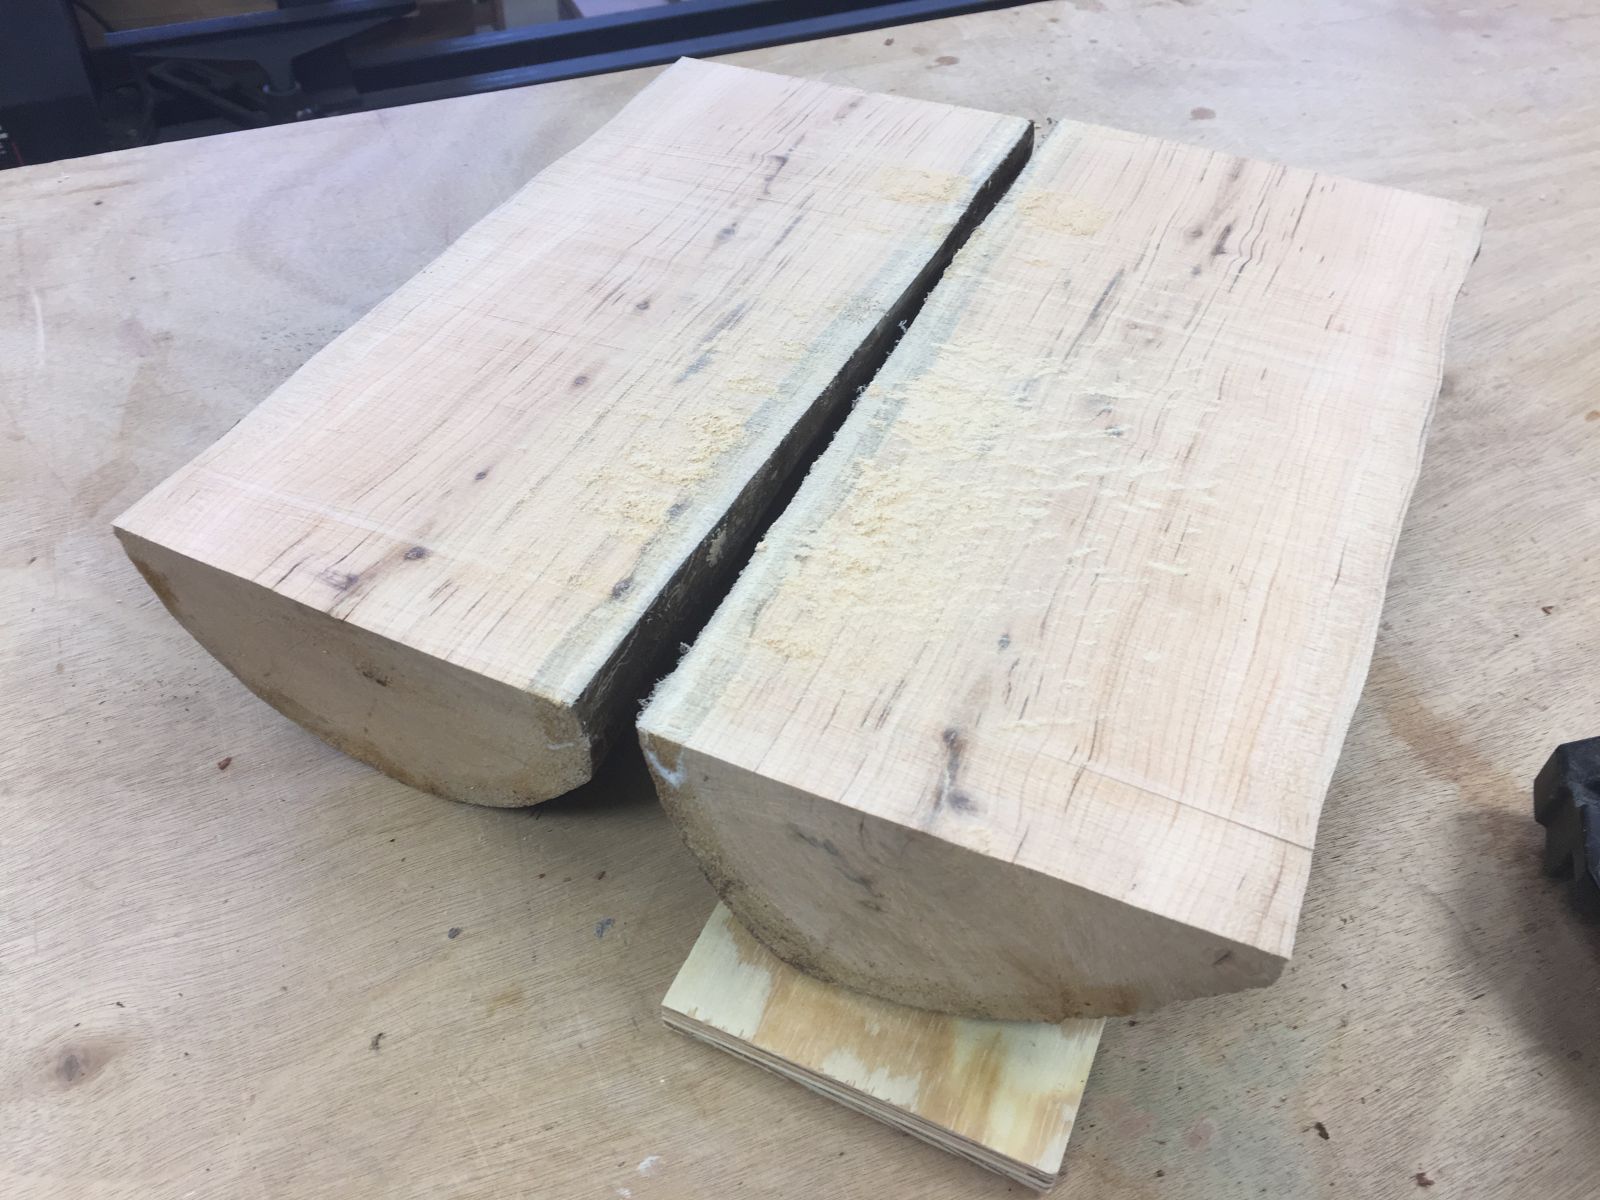
Cherry firewood log split in half

Preparing cherry log bowl blank

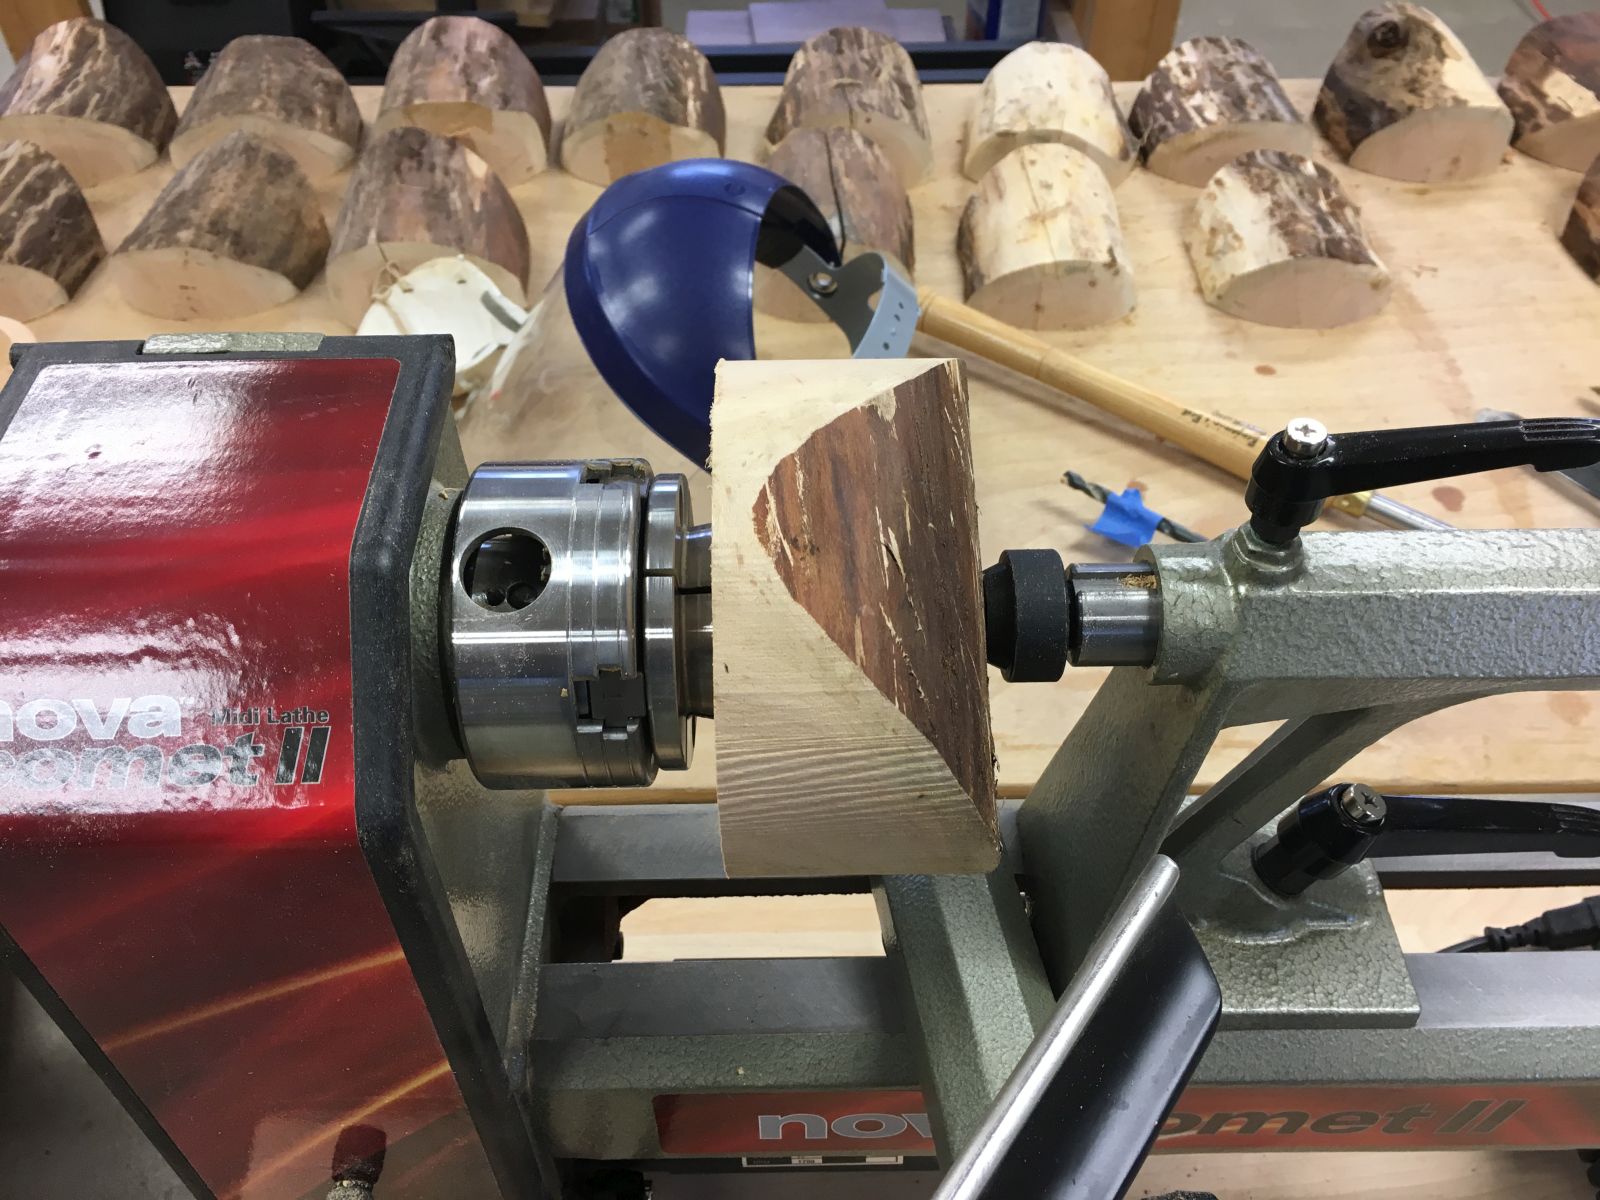
Cherry bowl blank mounted on wormscrew and supported by tailstock

Rough shaping a cherry bowl blank

Formed recess for expanding 2″ diameter scroll chuck jaws

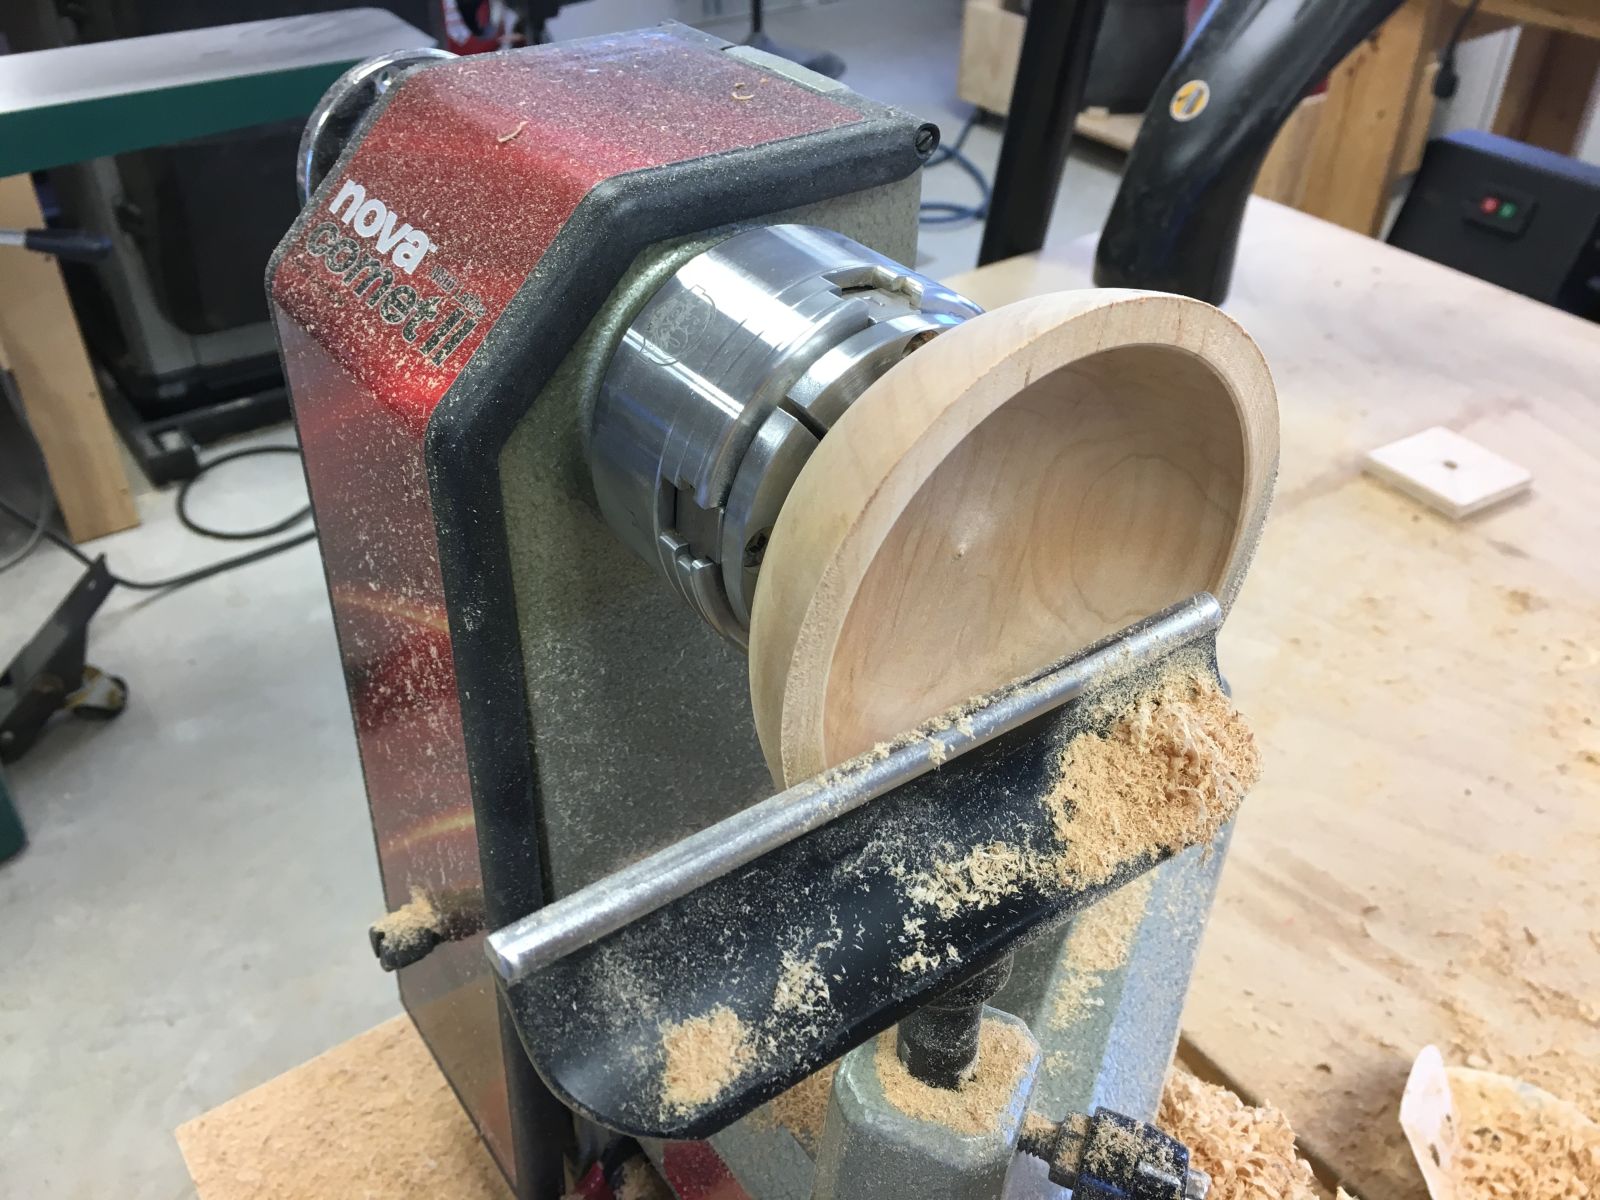
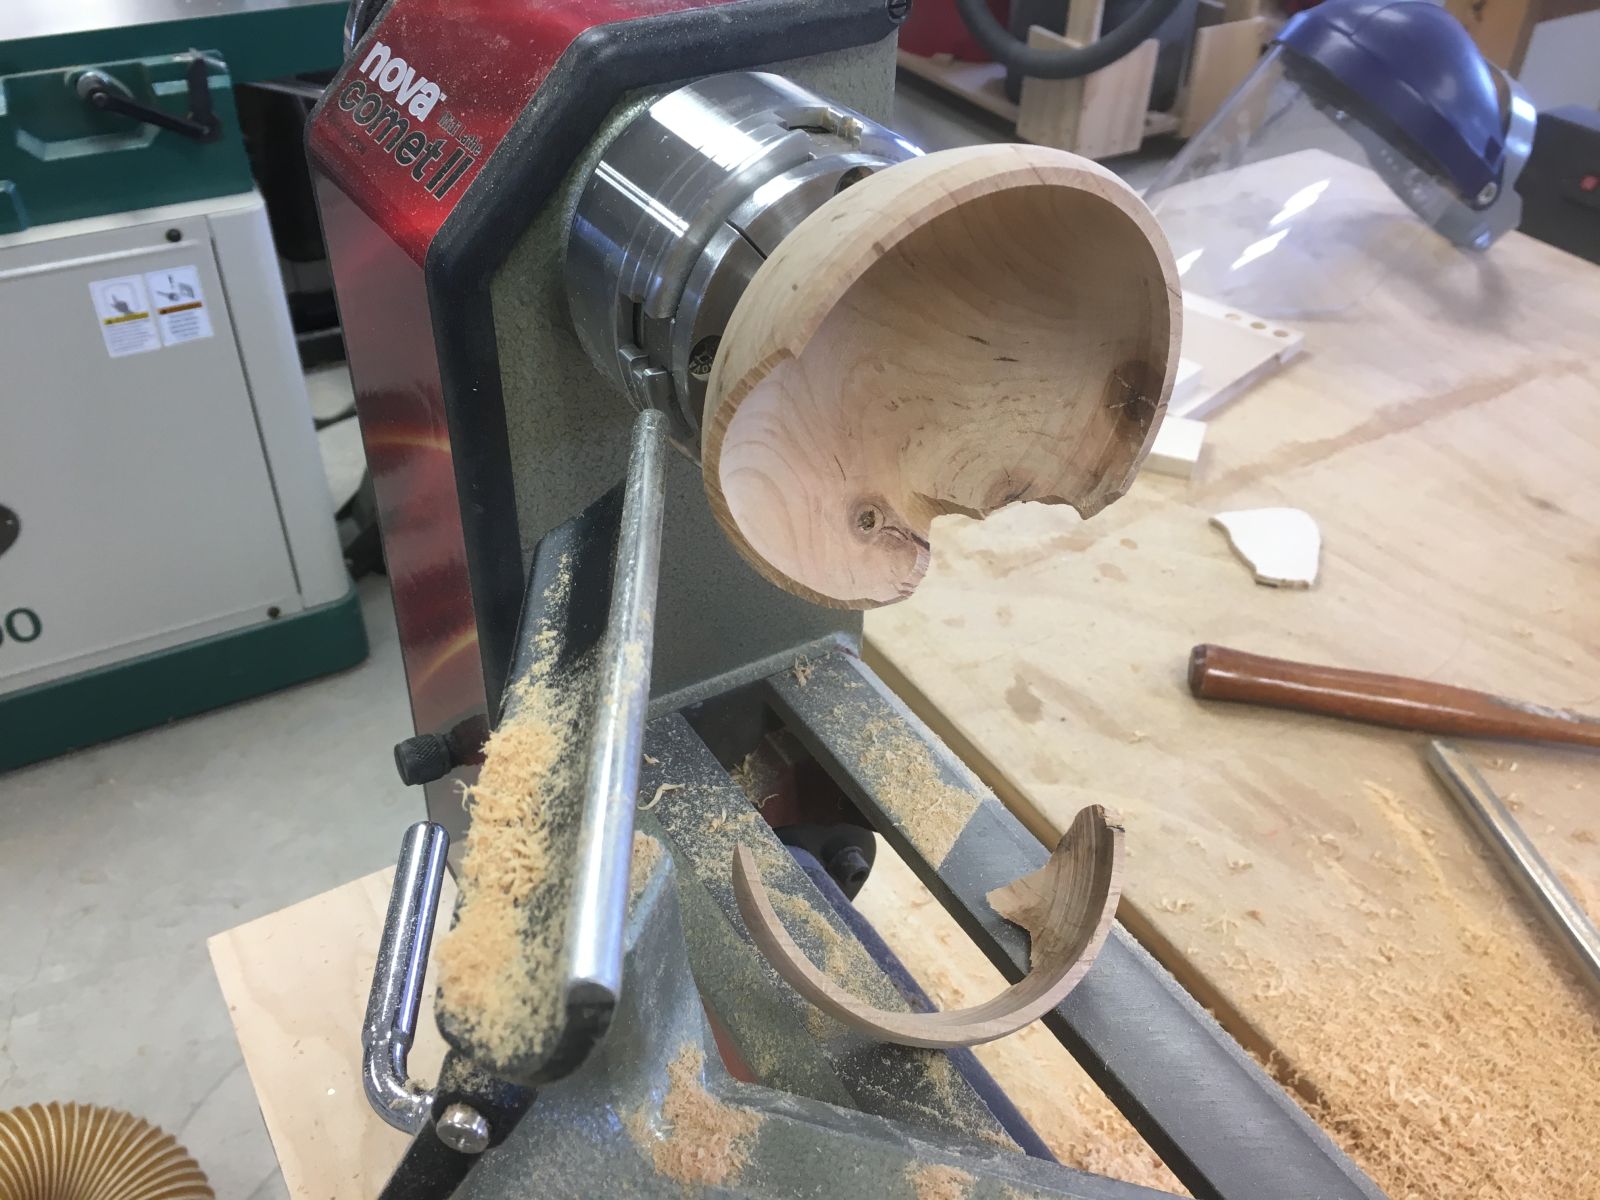
Forming the finished bowl without a proper bowl gouge

Spray finished first bowl attempt with Deft

Load of fresh sawn cherry from my brother, John’s house

Large cherry turning stock

Hand sawing cherry logs into lengths for bowl blanks

Several lengths of cherry logs


Sawing debarked cherry log sections on the bandsaw with a board screwed to the side as a guide

Sawn cherry log sections

Preparing a batch of small bowl blanks from small diameter cherry logs

Bandsawing half log sections to bowl blank lengths

Big batch of cherry log bowl blanks ready for the next step. BTW, it was a huge mistake to prepare so many bowl blanks. They should be rough turned immediately after being prepared.

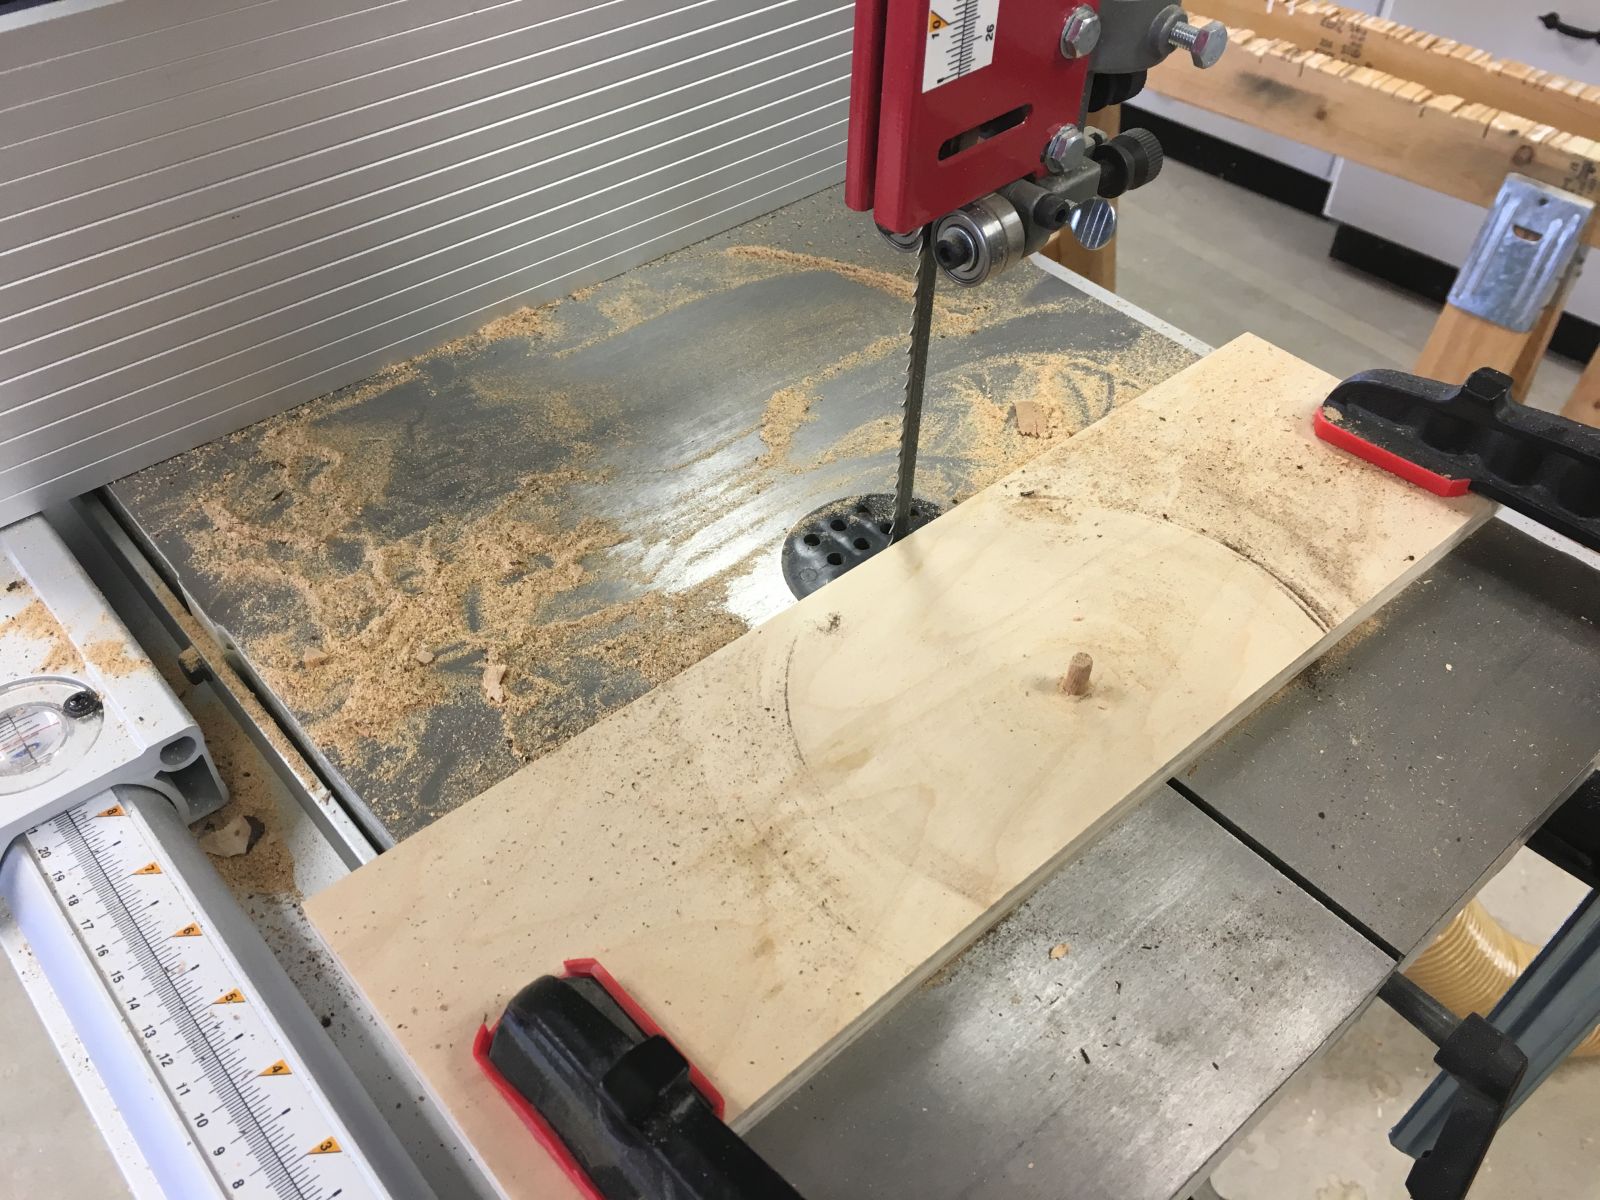
Using the wormscrew pilot hole as a pivot point to bandsaw each blank into a roughly circular shape

With the bandsaw table tilted, a rough outside bowl shape was produced, reducing the amount of material to be removed on the lathe

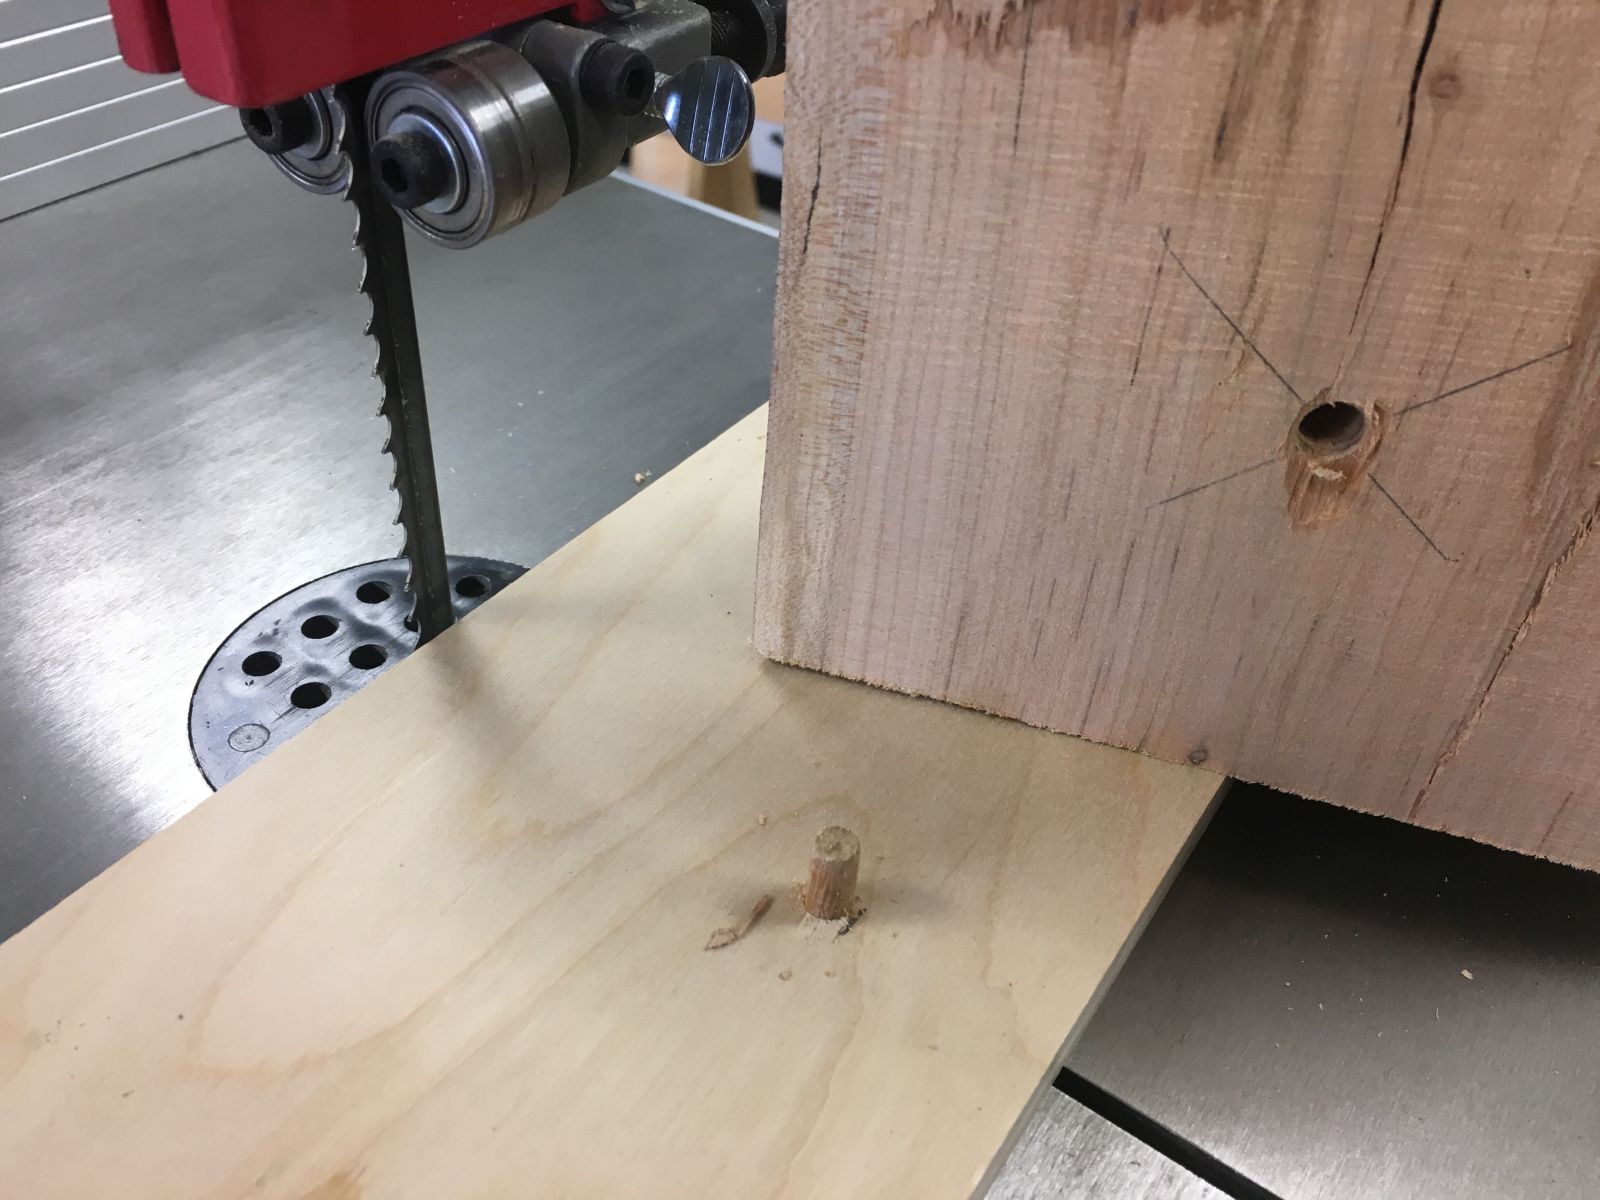
Pilot holes for mounting blanks on the wormscrew held in the scroll chuck
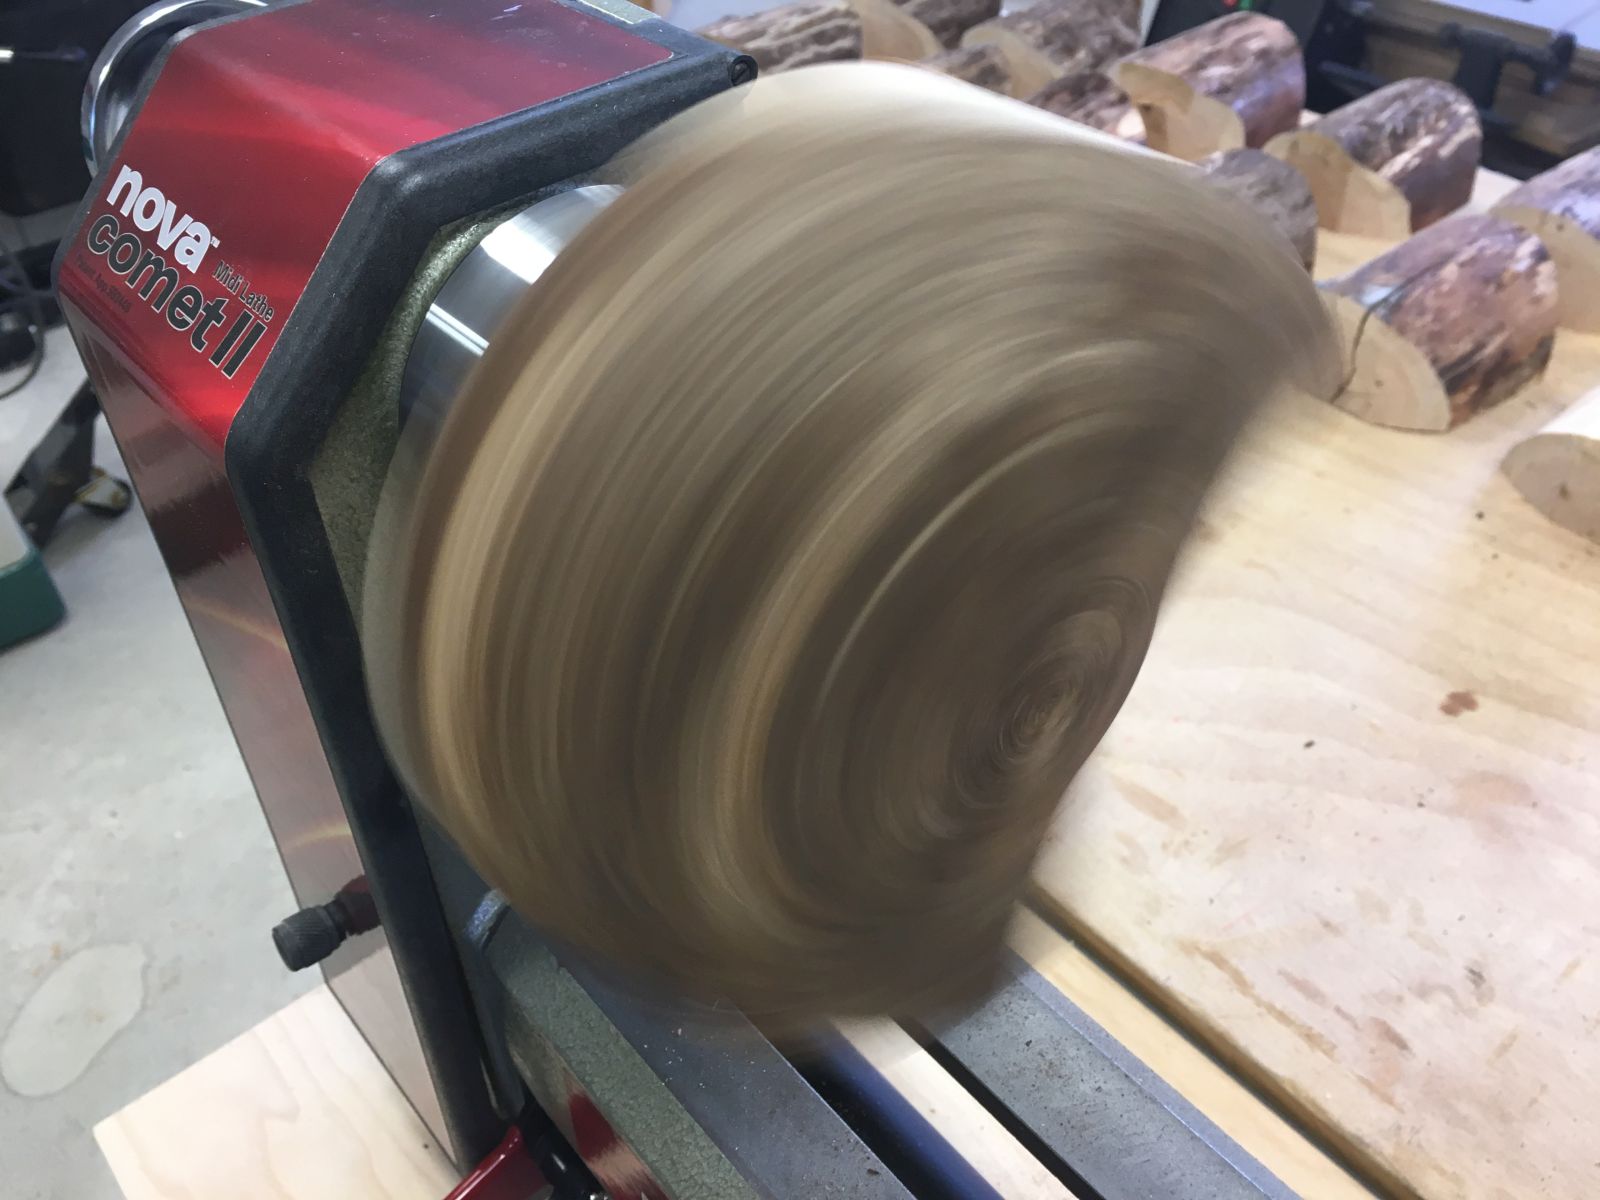

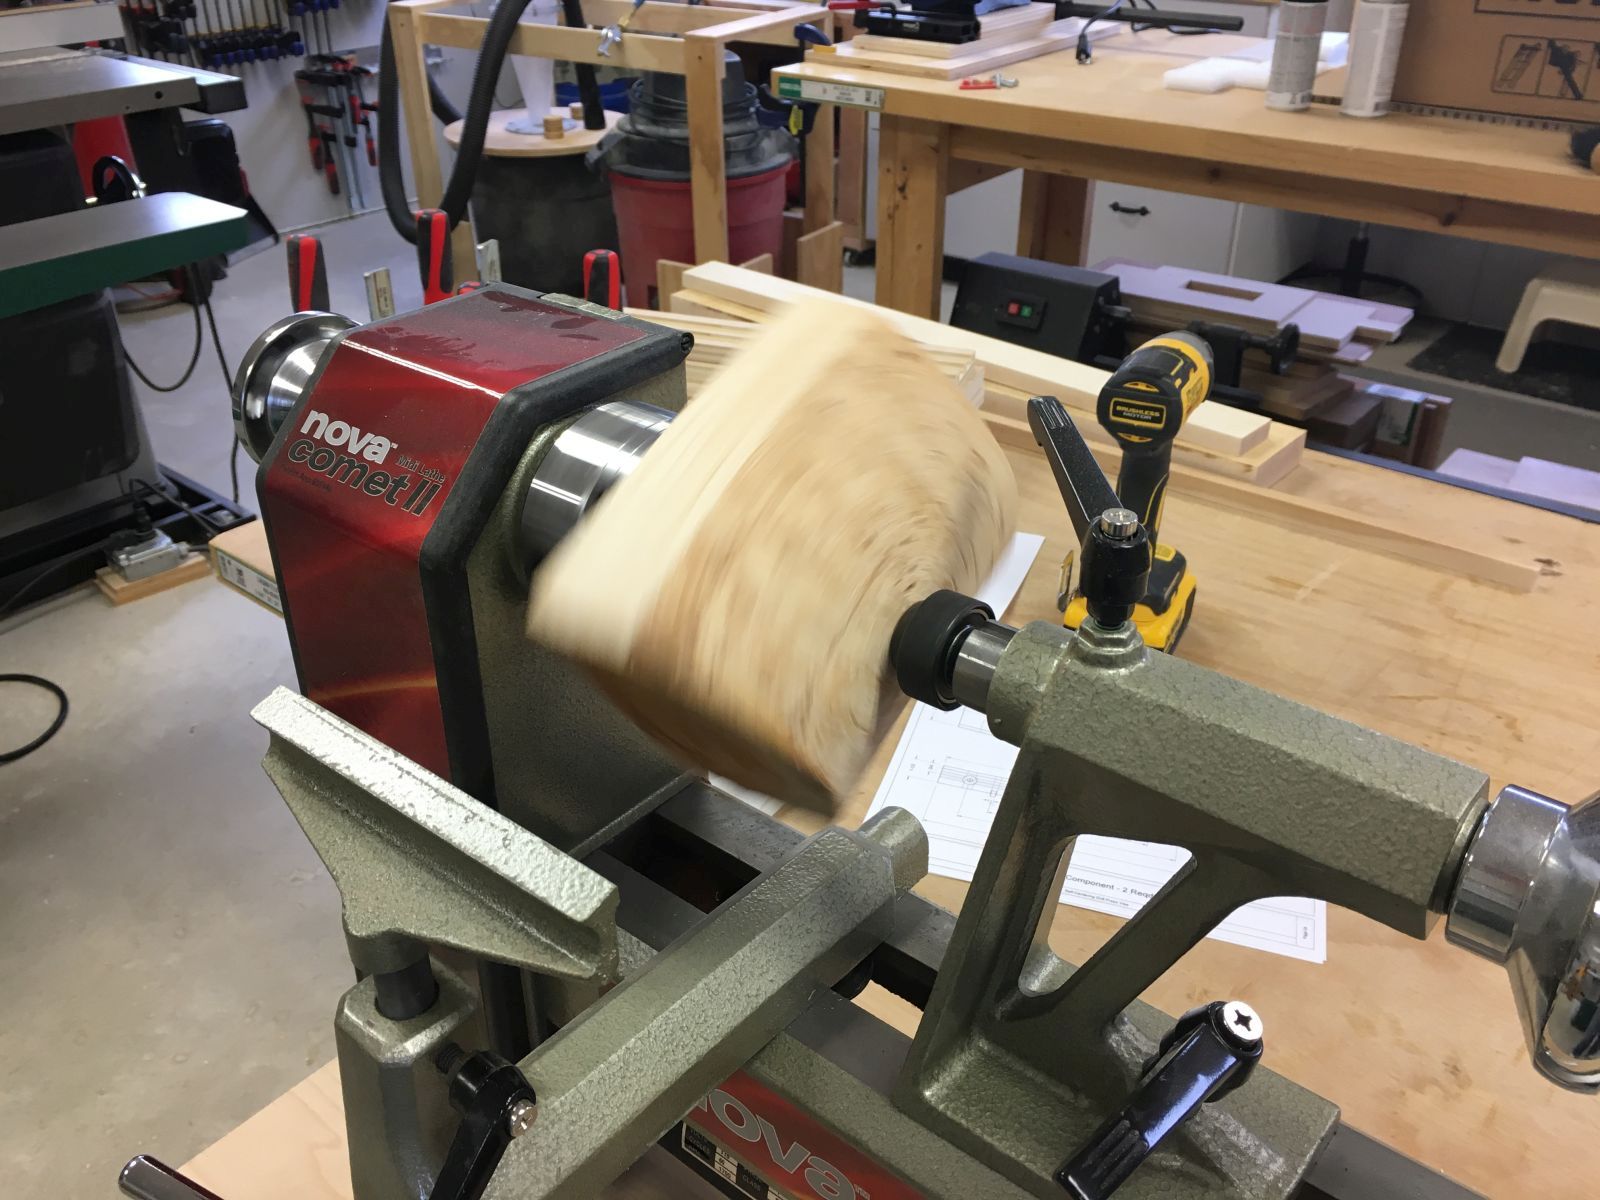
Rough shaping the outside of a bowl blank, after acquiring my very first bowl gouge

Push cuts with a sharp bowl gouge produced satisfying piles of shavings

First blank rough turned with an actual bowl gouge

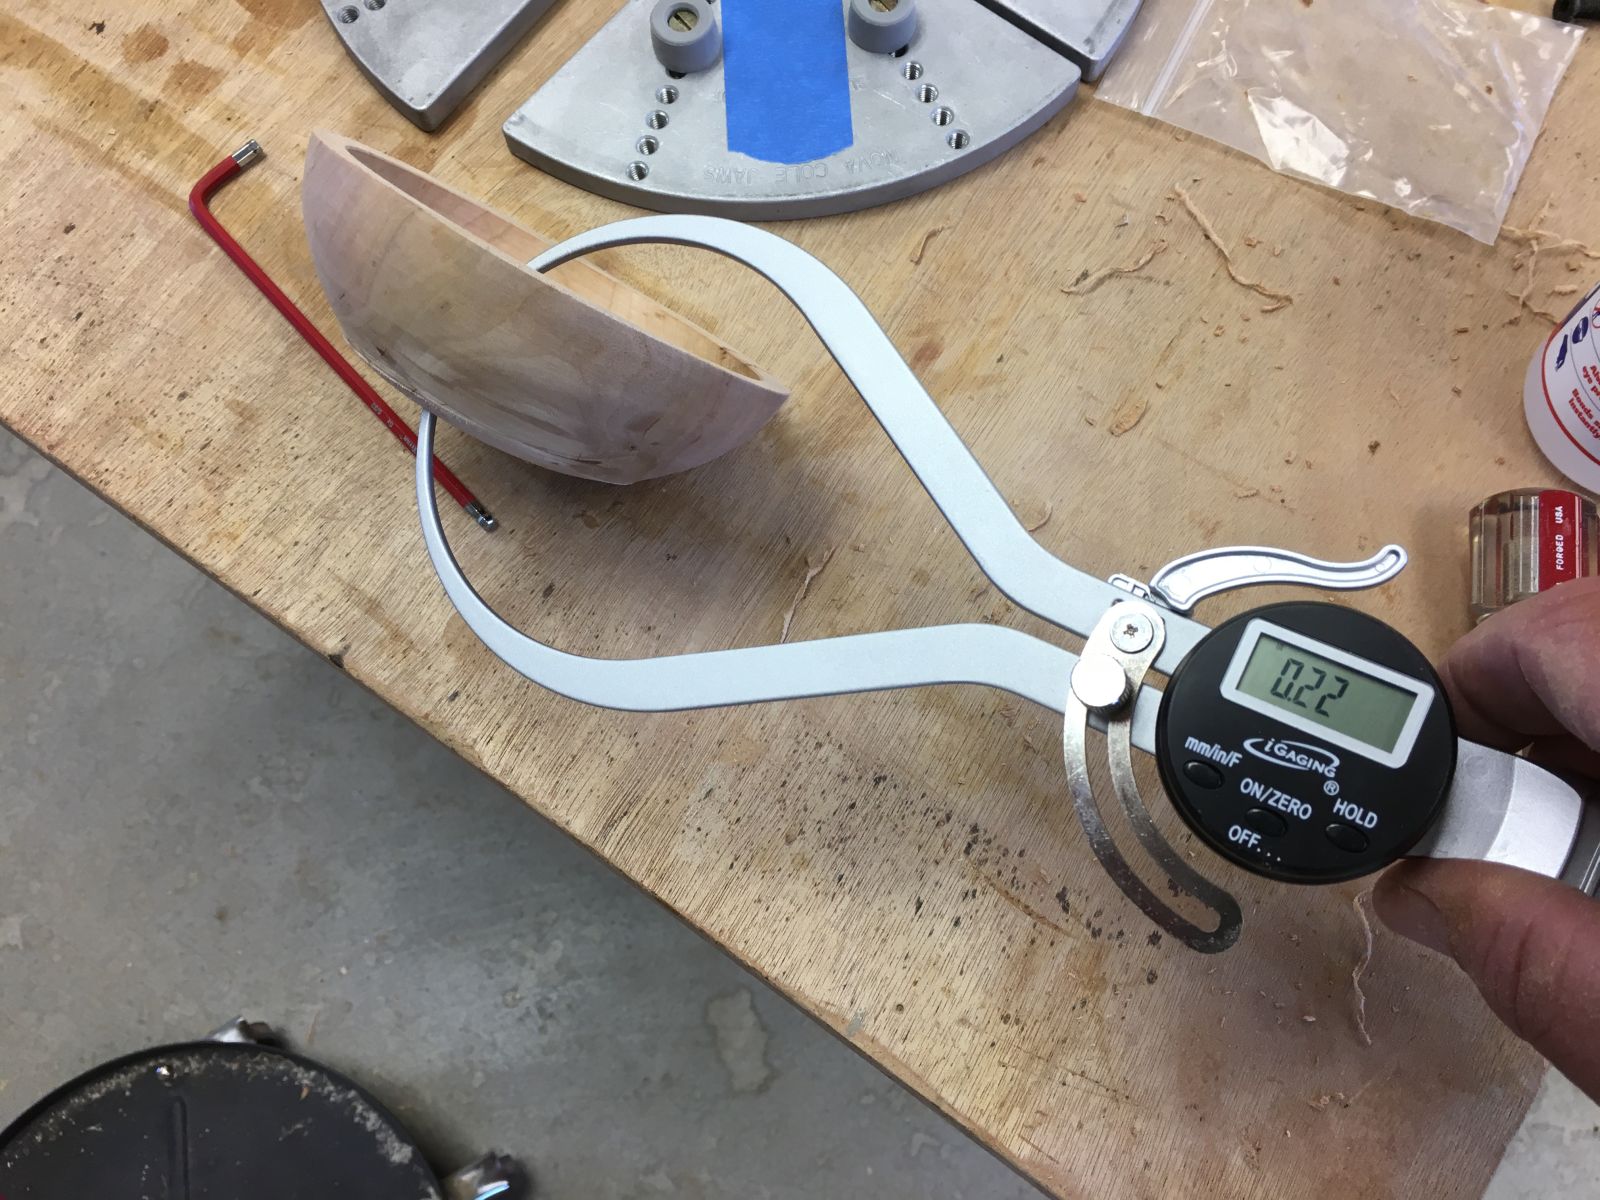
The goal of rough turning is a uniform wall thickness so moisture can escape relatively uniformly

Benjamin’s Best 5/8″ bowl gouge with a swept back wing grind

Not sure I’m making wooden bowls or just piles of wood shavings

Sawdust and shavings have always been a major product of Marietta Wood Works

A second round of rough turned bowl blanks

Outside of a rough turned bowl blank with 2″ diameter tenon for chucking

Second set of blanks, rough turned from the logs that didn’t split too badly, ready for drying in the garden shed

Side view of bandsaw table tilted, with pivot point clamped to table

View of bowl blank with conically bandsawn sides

First batch of rough-turned cherry bowls drying in the garden shed

Temperatures at the upper parts of the garden shed often reach wood-drying kiln temperatures in the summertime

Open wire shelving allows plenty of airflow around drying rough-turned bowl

After about three months of drying in the garden shed, the first batch of rough-turned bowls are ready for final turning

More rough-tuned blanks for the second batch of bowls

Reverse view of my work area, with bowl blanks in various stages on the workbench

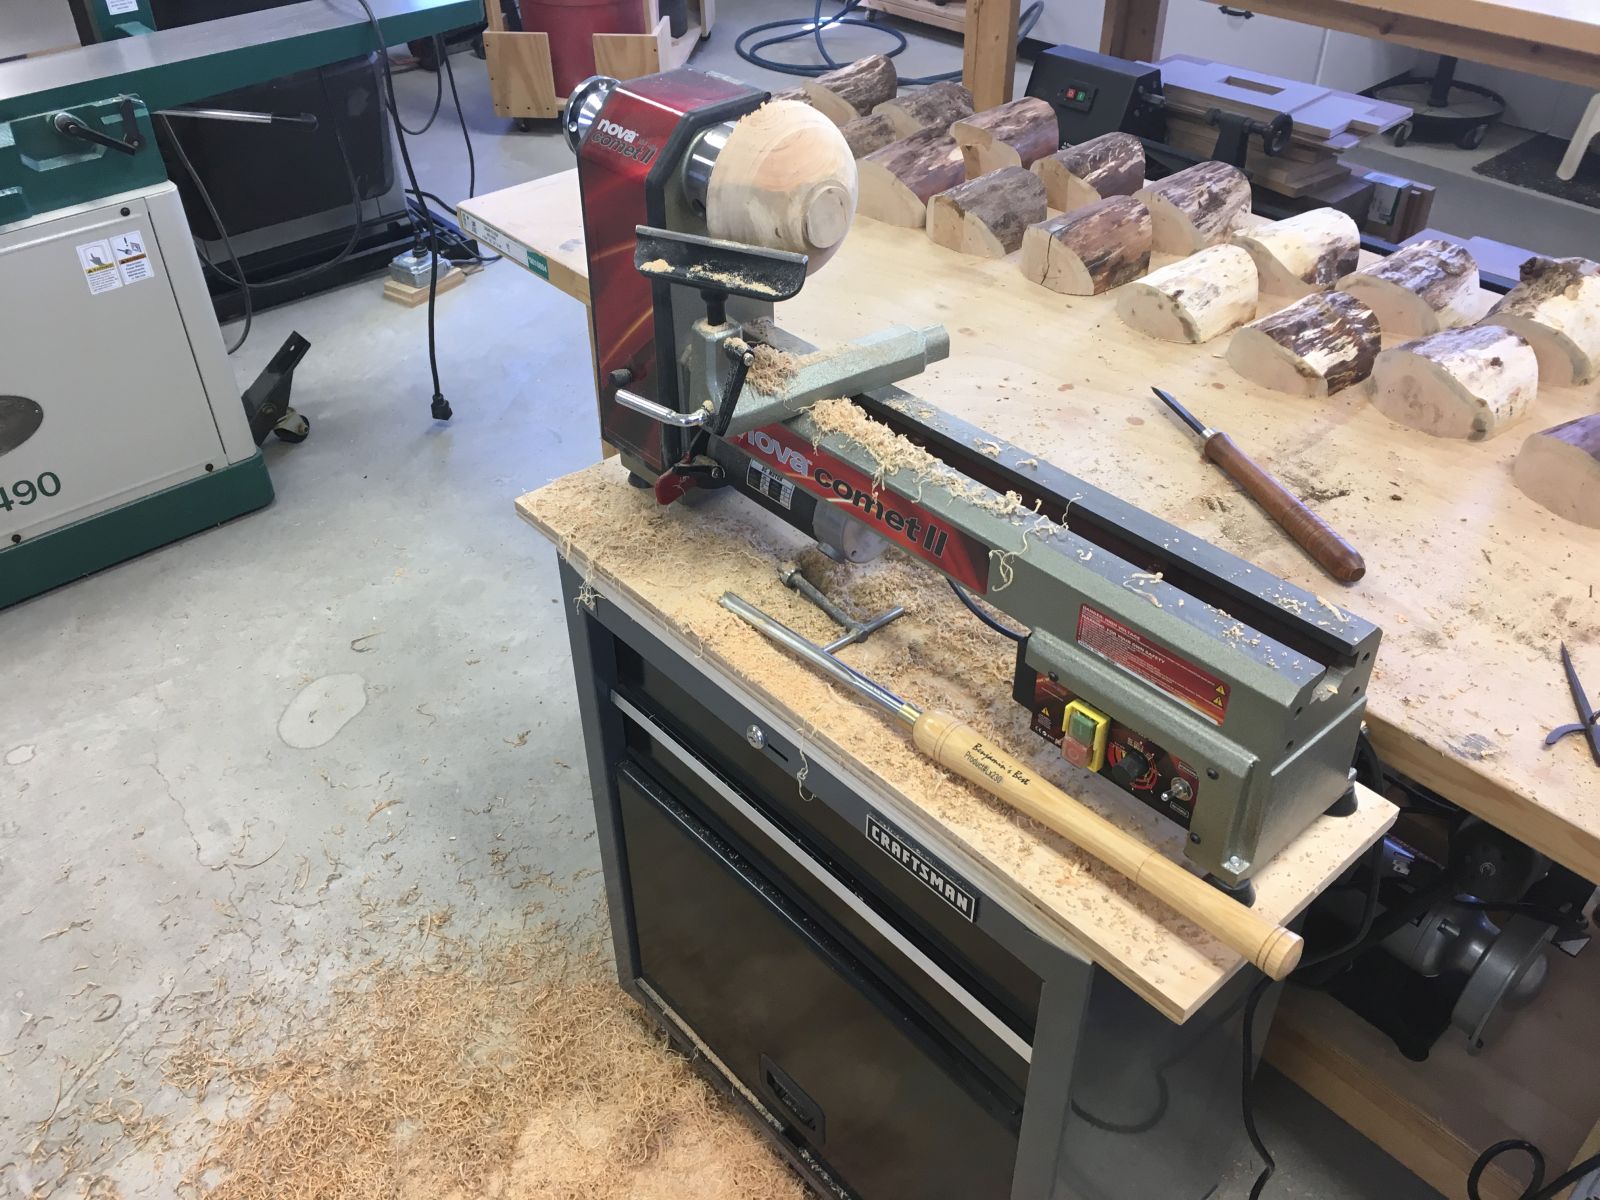
Rough-turning another bowl blank

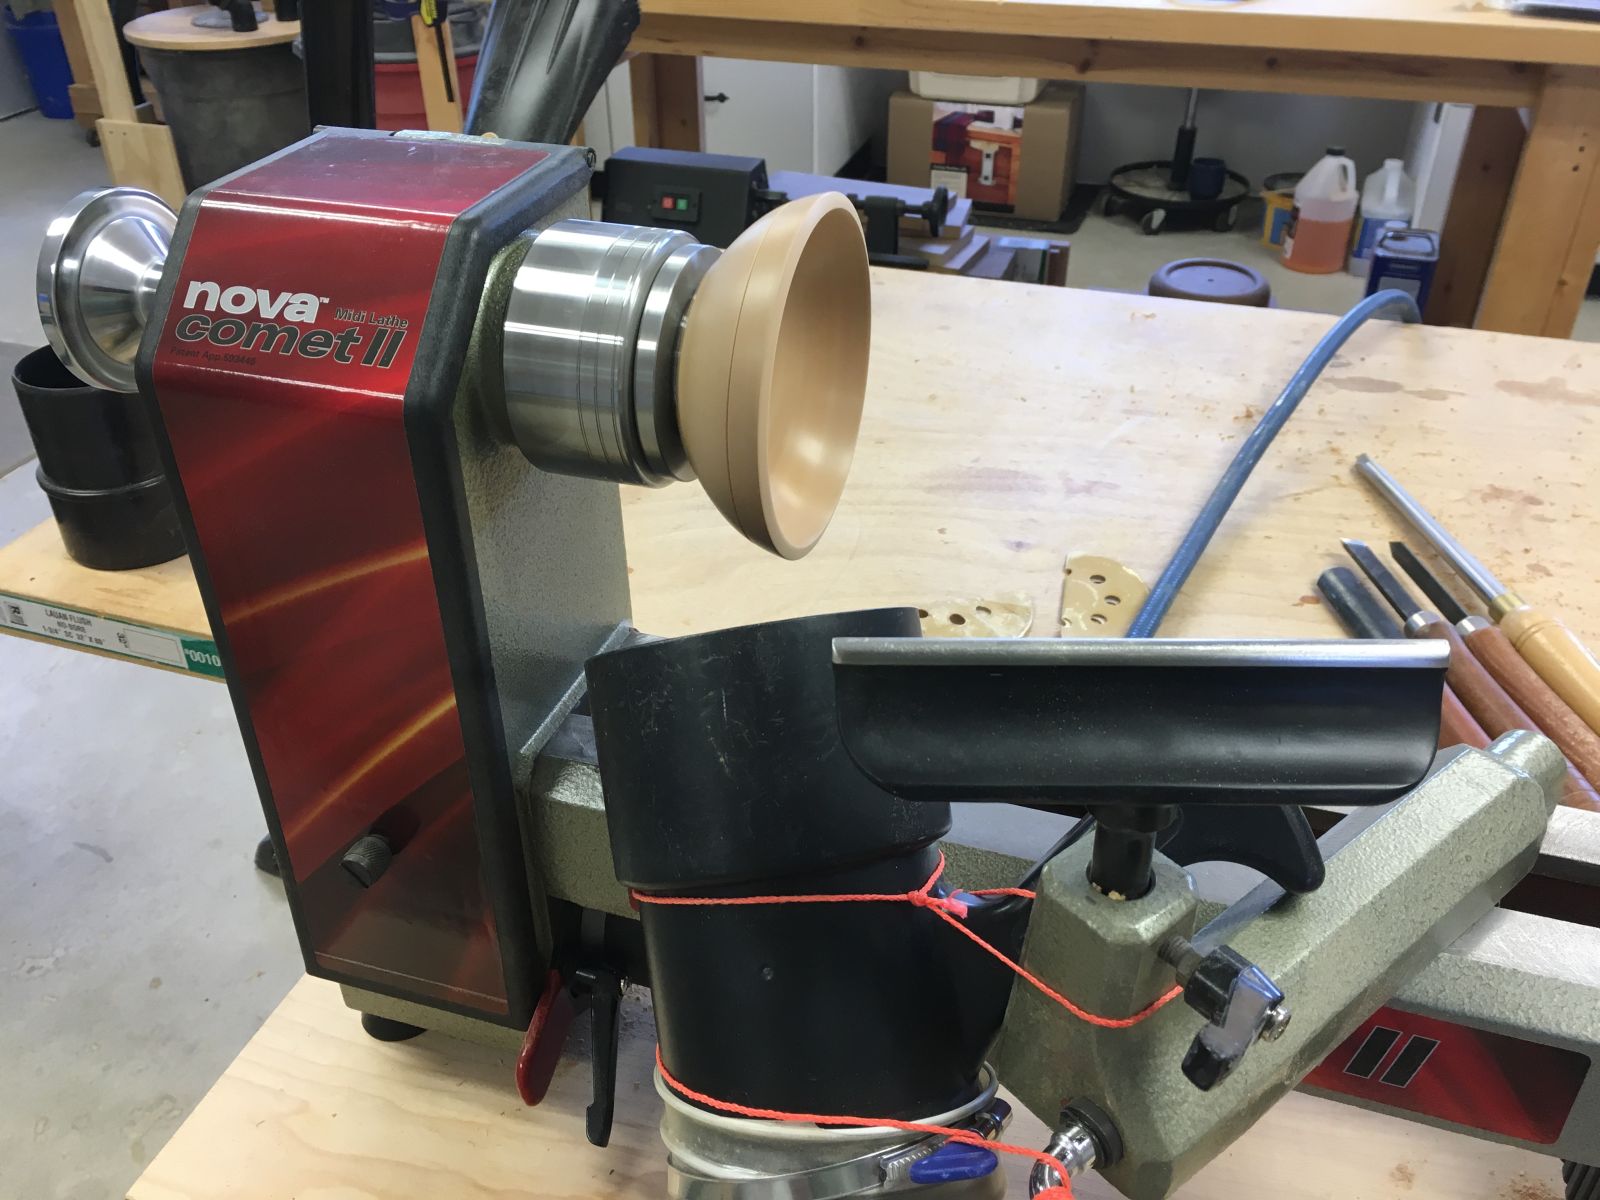
Rough-turned and dried bowl blank chucked and ready for finish turning

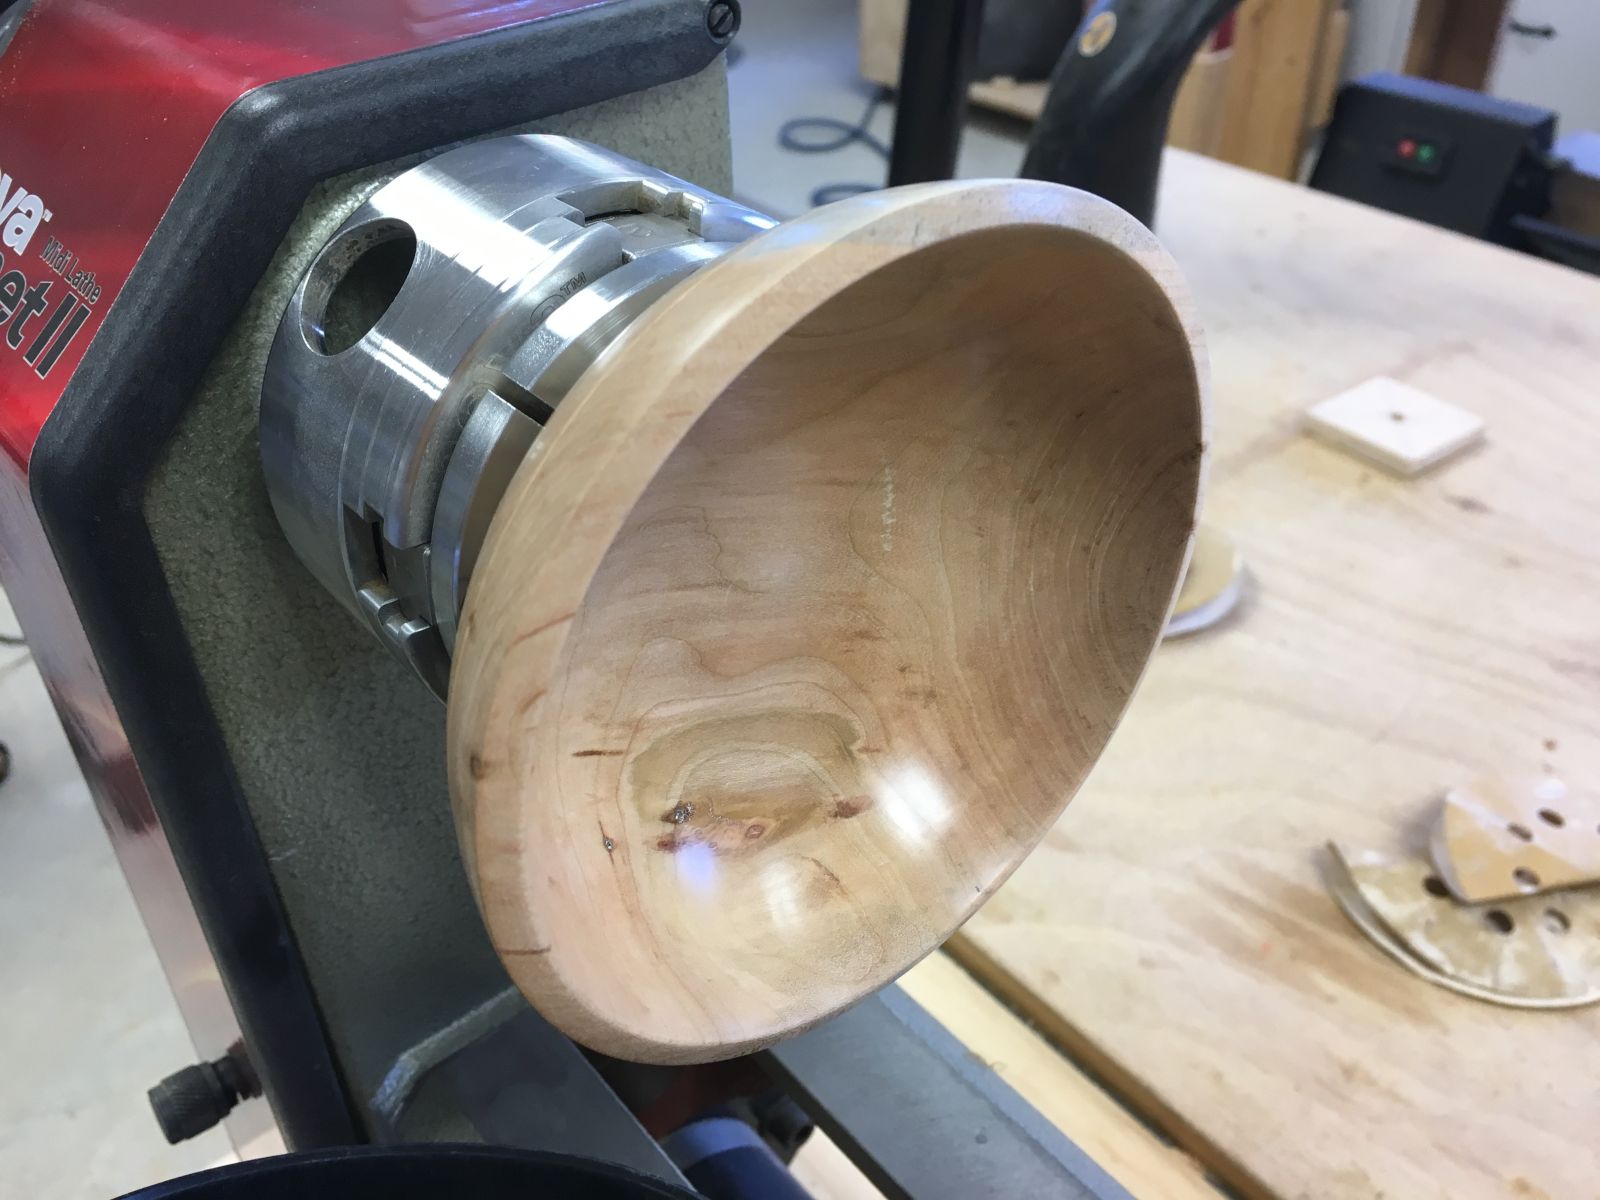
First bowl from a dried, rough-turned blank, cut with a proper bowl gouge,, and friction finished with Aussie Oil

New Cole jaws mounted on the Nova G3 scroll chuck

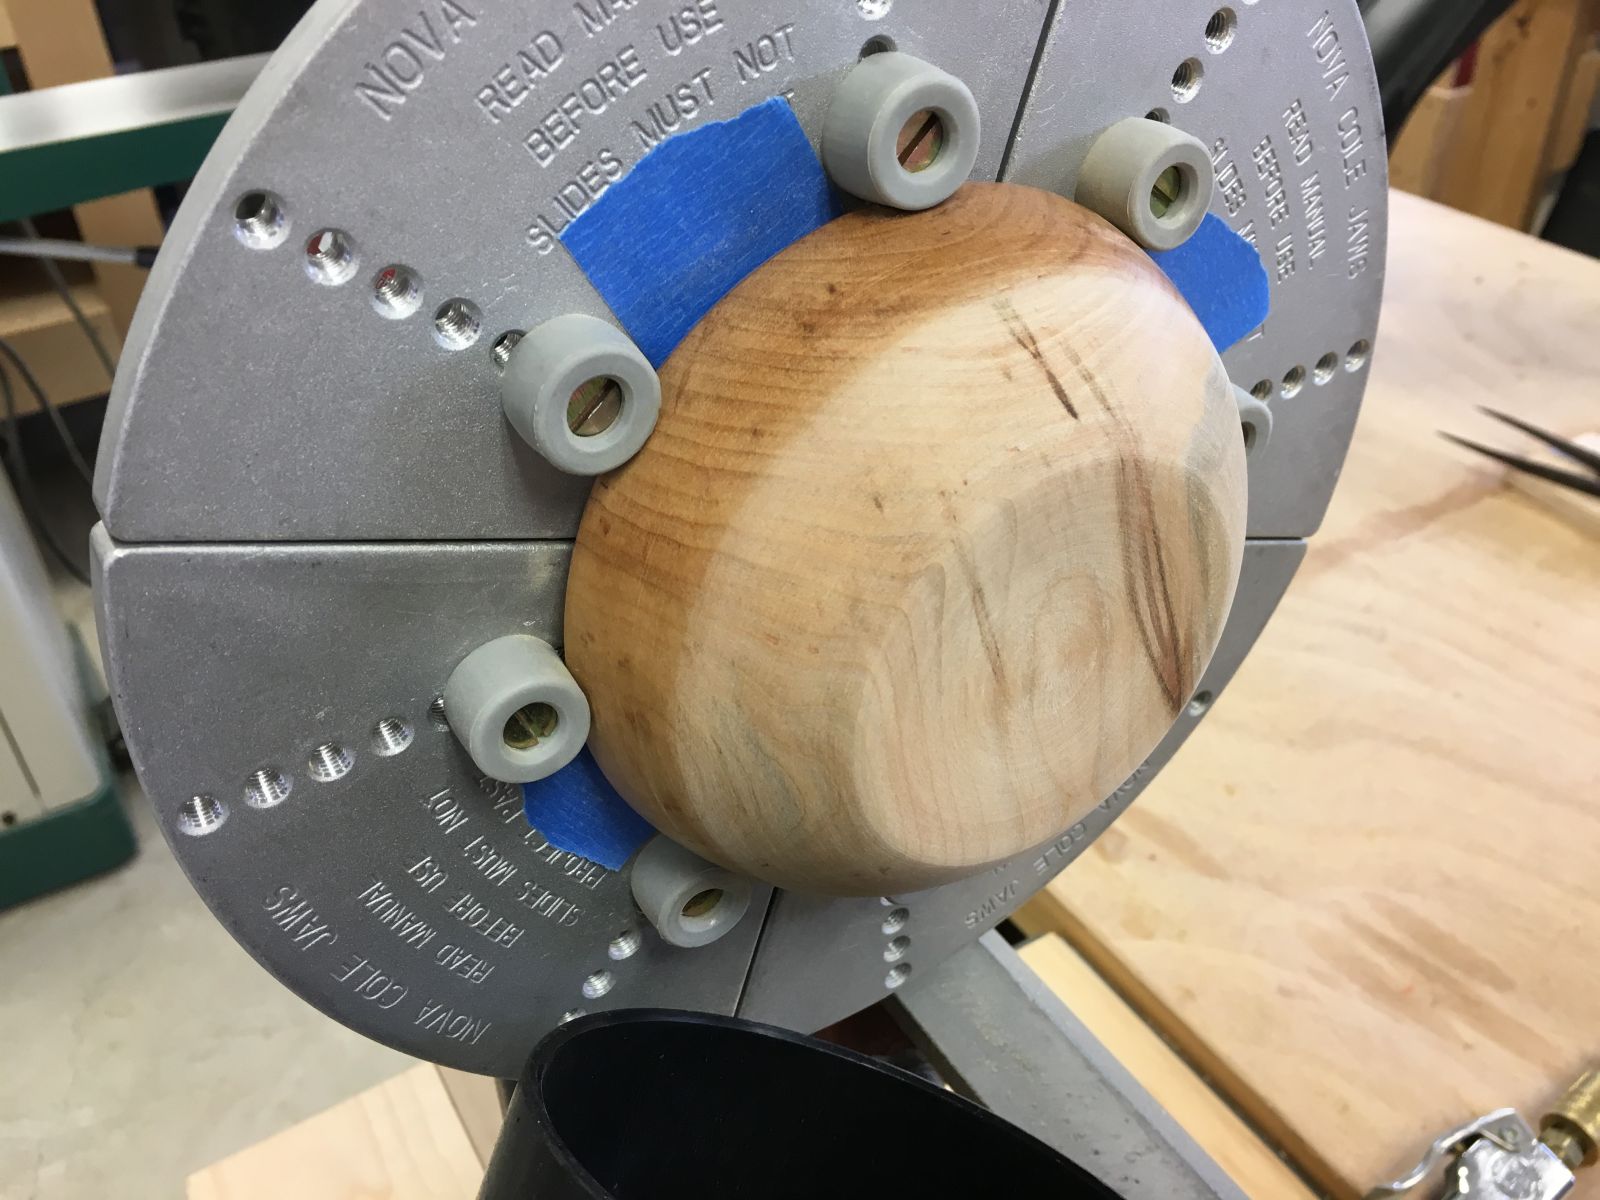
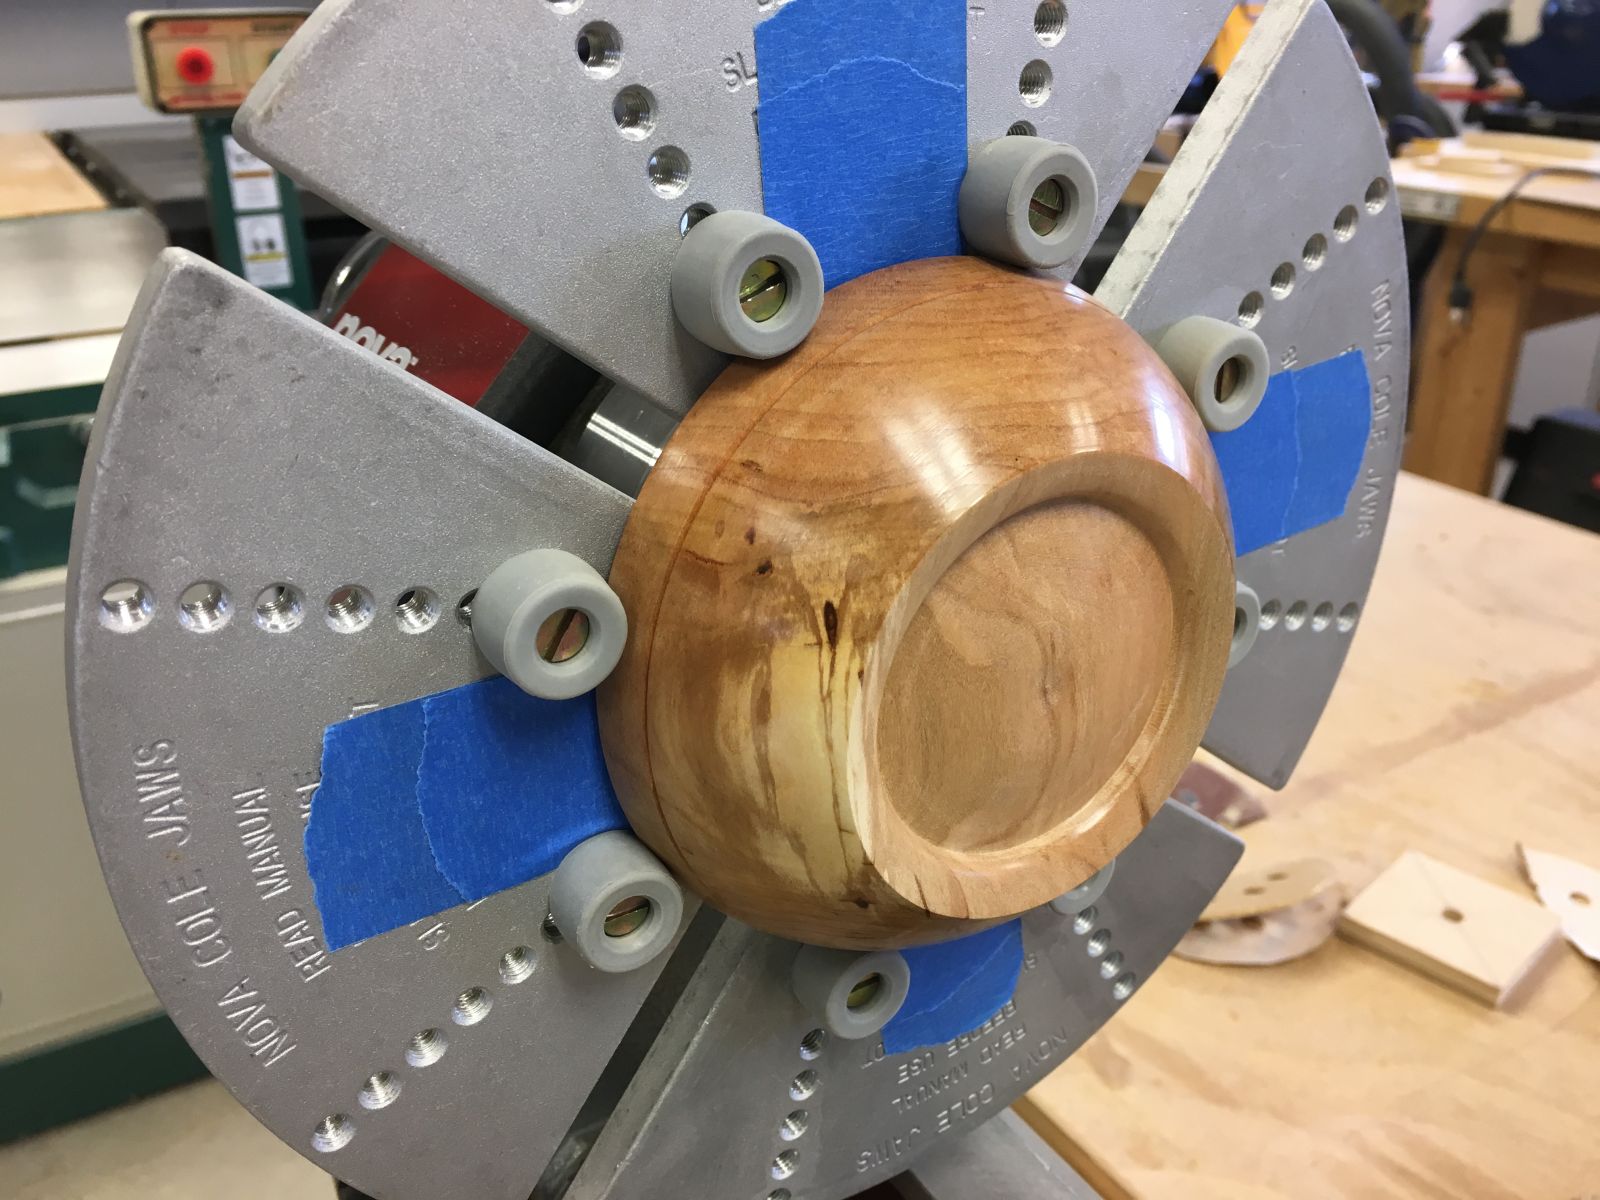
Finished bowl mounted in Cole chuck for turning and finishing its bottom

Side view of finished bowl mounted in Cole jaws

Bottom tenon removed and bottom of bowl sanded and ready for friction finishing

Completed bowl bottom

First completed bowl using a more proper sequence of roughing, drying, and final turning

Side view of ~5″ diameter cherry bowl

Reverse view with various blanks and tools

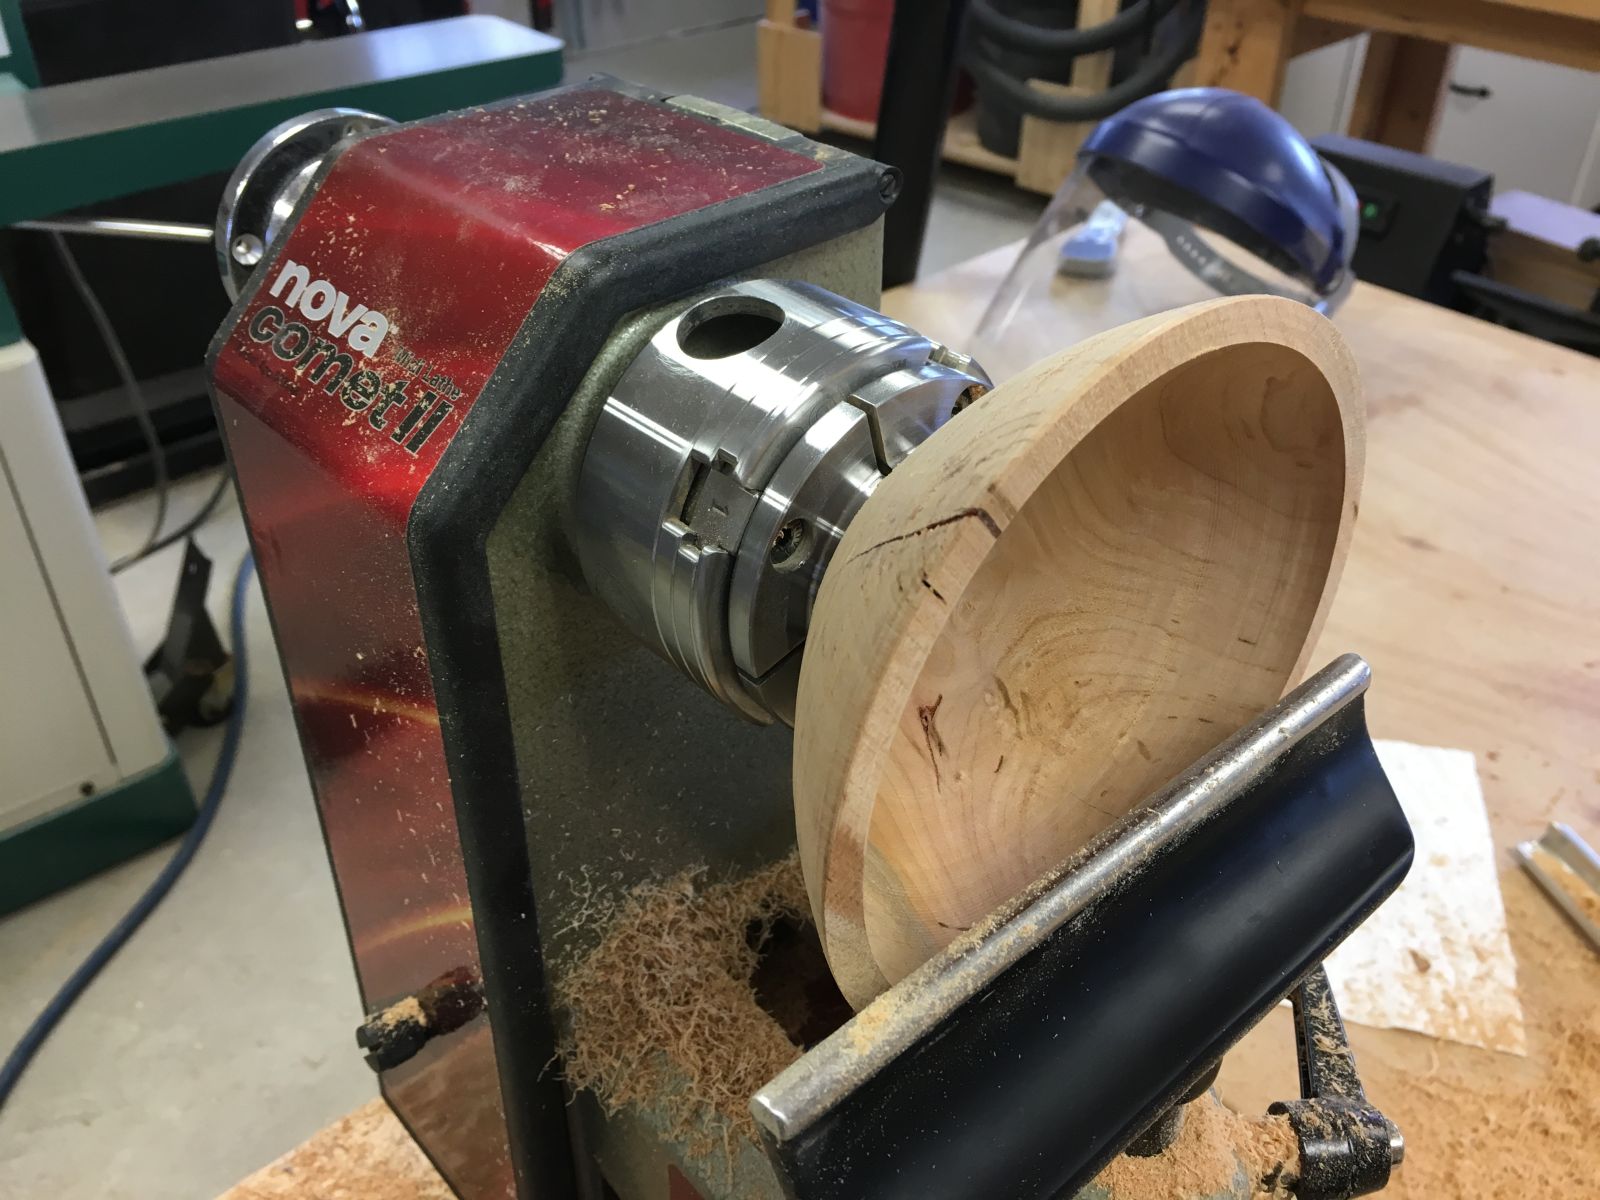
Finish turning another cherry bowl in process

Ready for final cuts on the inside

Finished bowl chucked in Cole jaws for bottom finishing work

A lot of work and process steps go into making a finished bowl from a log destined for the fireplace!

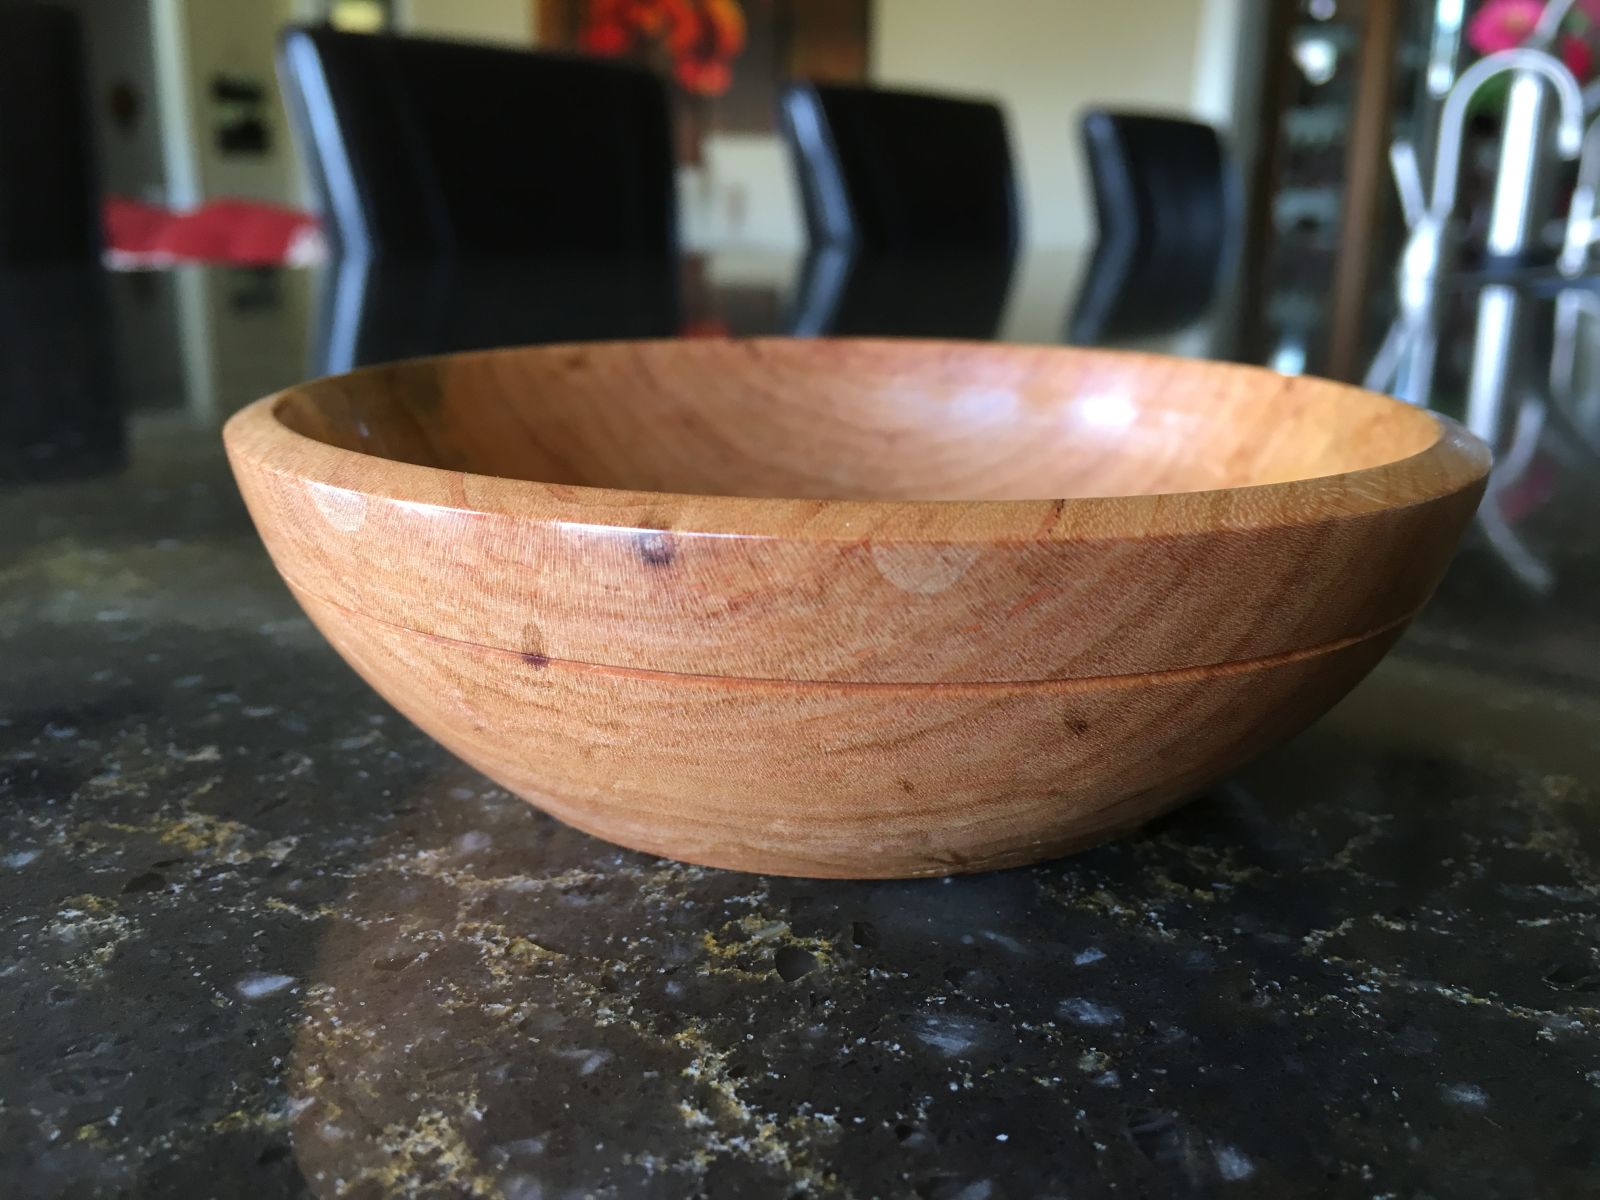
Finished cherry bowl with Aussie Oil friction finish applied
Links to Mahan Family Photos
Please use the link below to view all of the Mahan Family Photos that have been added to date in one large gallery. More photos are being added every day, so please check back often.
Link to All Mahan Family Photos
Please use the lists below to select names or decades and view galleries of photos that include a particular person or are from a particular decade. When known, the person’s birth year follows their name. Clicking on individual photos in any gallery will display a larger photo and a caption containing additional information.
Links to Mahan Family Photos by Individual Name
By Name A – H
By Name I – M
By Name N – R
By Name S – Z
Links to Mahan Family Photos by Decade
Links to Mahan Family Photos by Special Occasion
Year – Occasion