Based on a sacred heart pendant and unique display case she saw in Italy, my friend Stefanie asked me if I would consider making her a similar display case. After looking at a photograph of the display case she saw, I said, “Sure, that looks like a fun and interesting challenge!” Stefanie ordered a sacred heart pendant from a friend she made in Italy, and had it sent to me so I could size and design a display case around it.
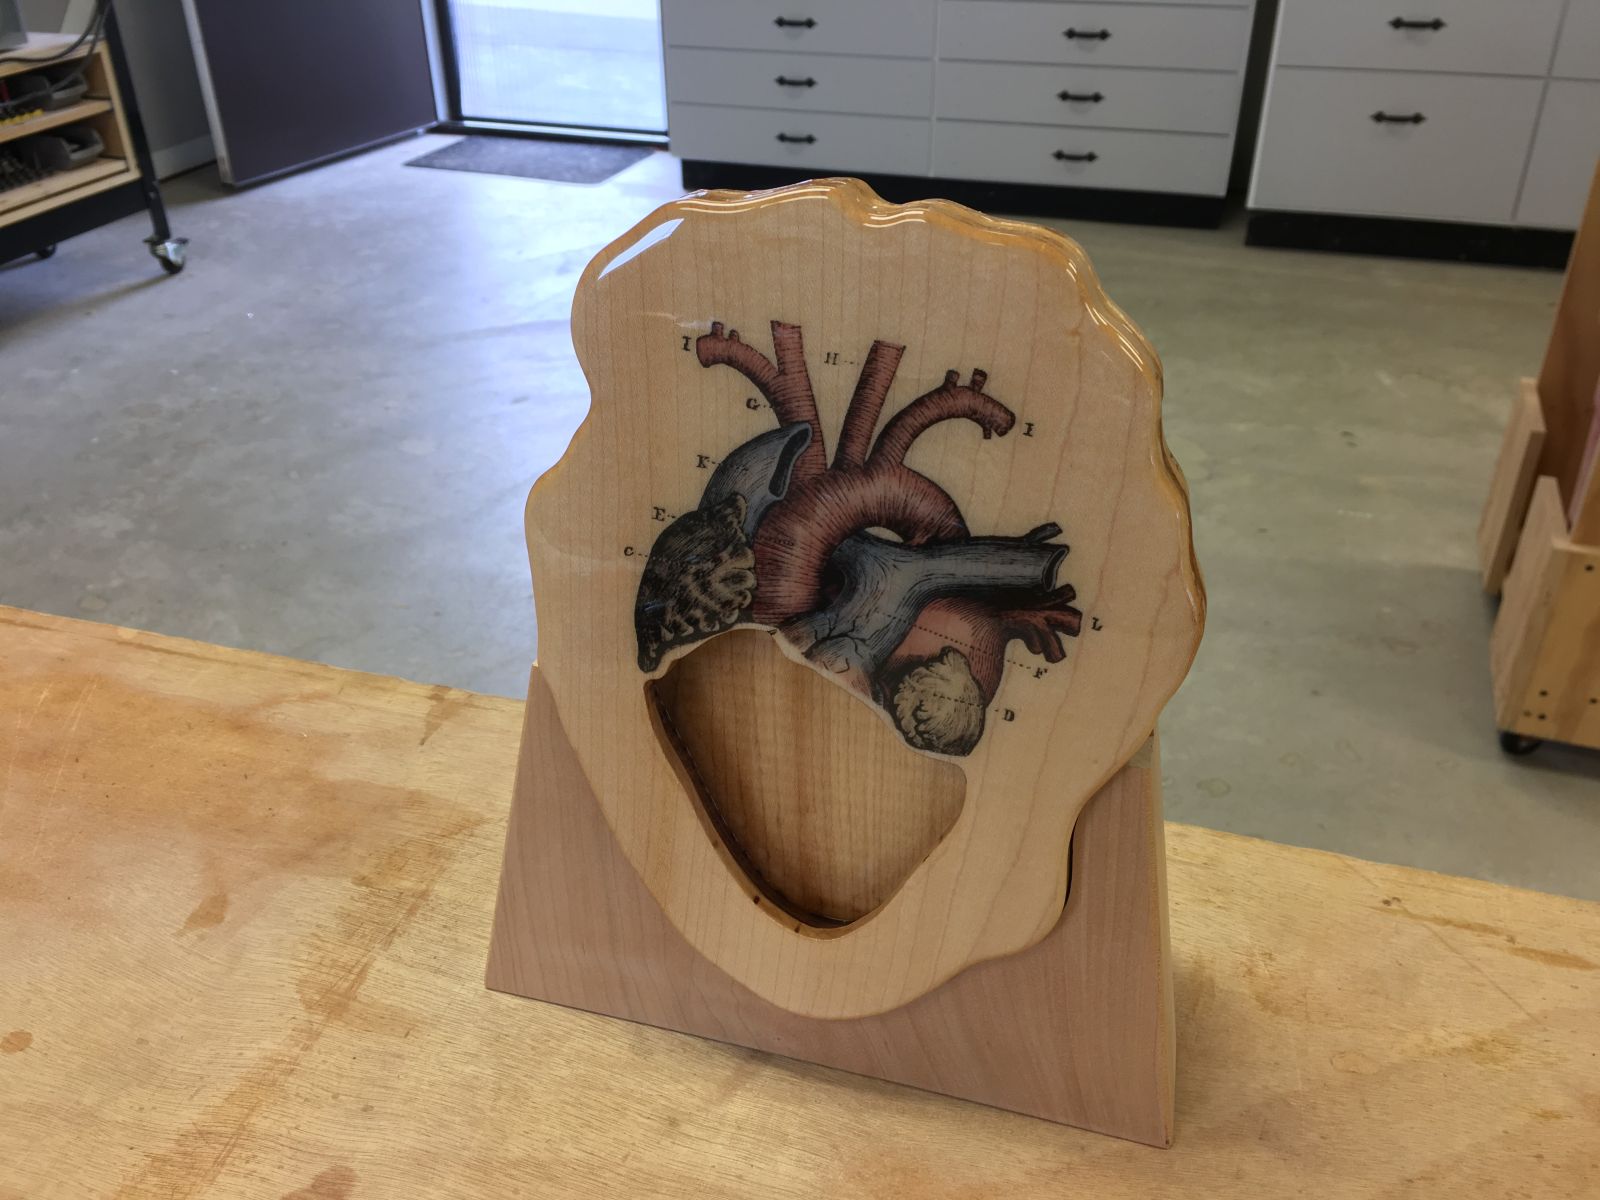
As a practicing veterinarian, one of the special features that attracted Stefanie’s attention originally was a hand-drawn graphic of an anatomical human heart featured on the front of the display case. After an extensive search of stock photographs and illustrations, I acquired a full-color illustration very similar to the graphic on the original display case. The design challenge then became finding the best method of applying the illustration to our version of the wooden case. My friends Joanna and Vince at CG Vinyl Studio suggested inkjet printing the illustration on printable vinyl, overlaminating it for protection, attaching it to the display case with a special spray adhesive, and finally coating the entire piece with clear, two-part epoxy resin.
Next came the design challenge of tracing the outline of the display case and scaling it to Stefanie’s pendant. Once the tracings of both the display case and pendant were done in InkScape, I imported the vectors into SketchUp and designed a two-piece display case with a windowed display area and hidden recesses for storing the pendant’s chain. For ease of access, the two-piece case will be aligned with brass dowel pins and held together with four small magnetic catches.
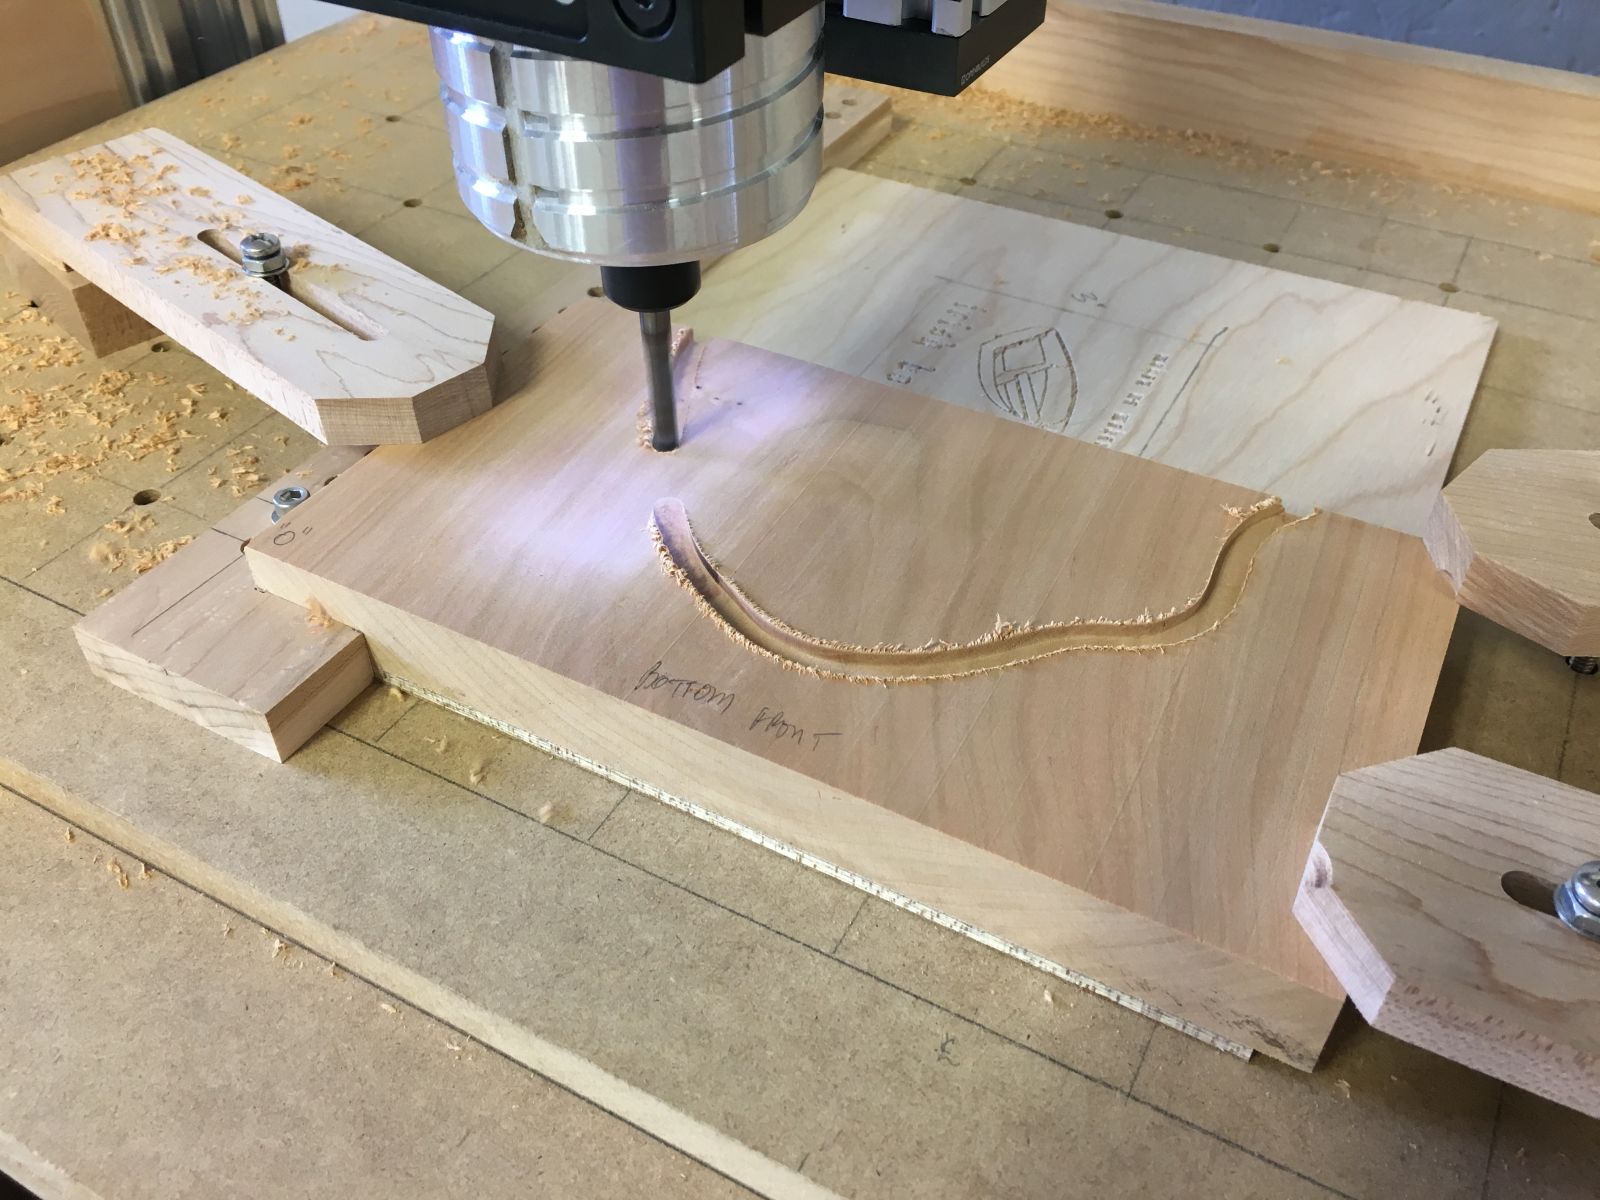
From SketchUp, I exported the 2D vector outlines of all features on the front and back of the case into Vectric’s VCarve Desktop CNC design program and G code post processor. Since the front of the case had features that had to be machined on both surfaces, this project was my first use of VCarve’s two-sided machining capabilities. Once the CNC designs were complete and G code routines were generated for each machining step, I build an indexing jig for the CNC router’s table, so that blanks for the front and back of the case could be repeatably positioned. With all this preparation, and the CNC router’s working axes zeroed at the blanks’ lower left “0” corner, it was easy to complete all the machining steps with a quarter-inch solid carbide up cutting end mill.
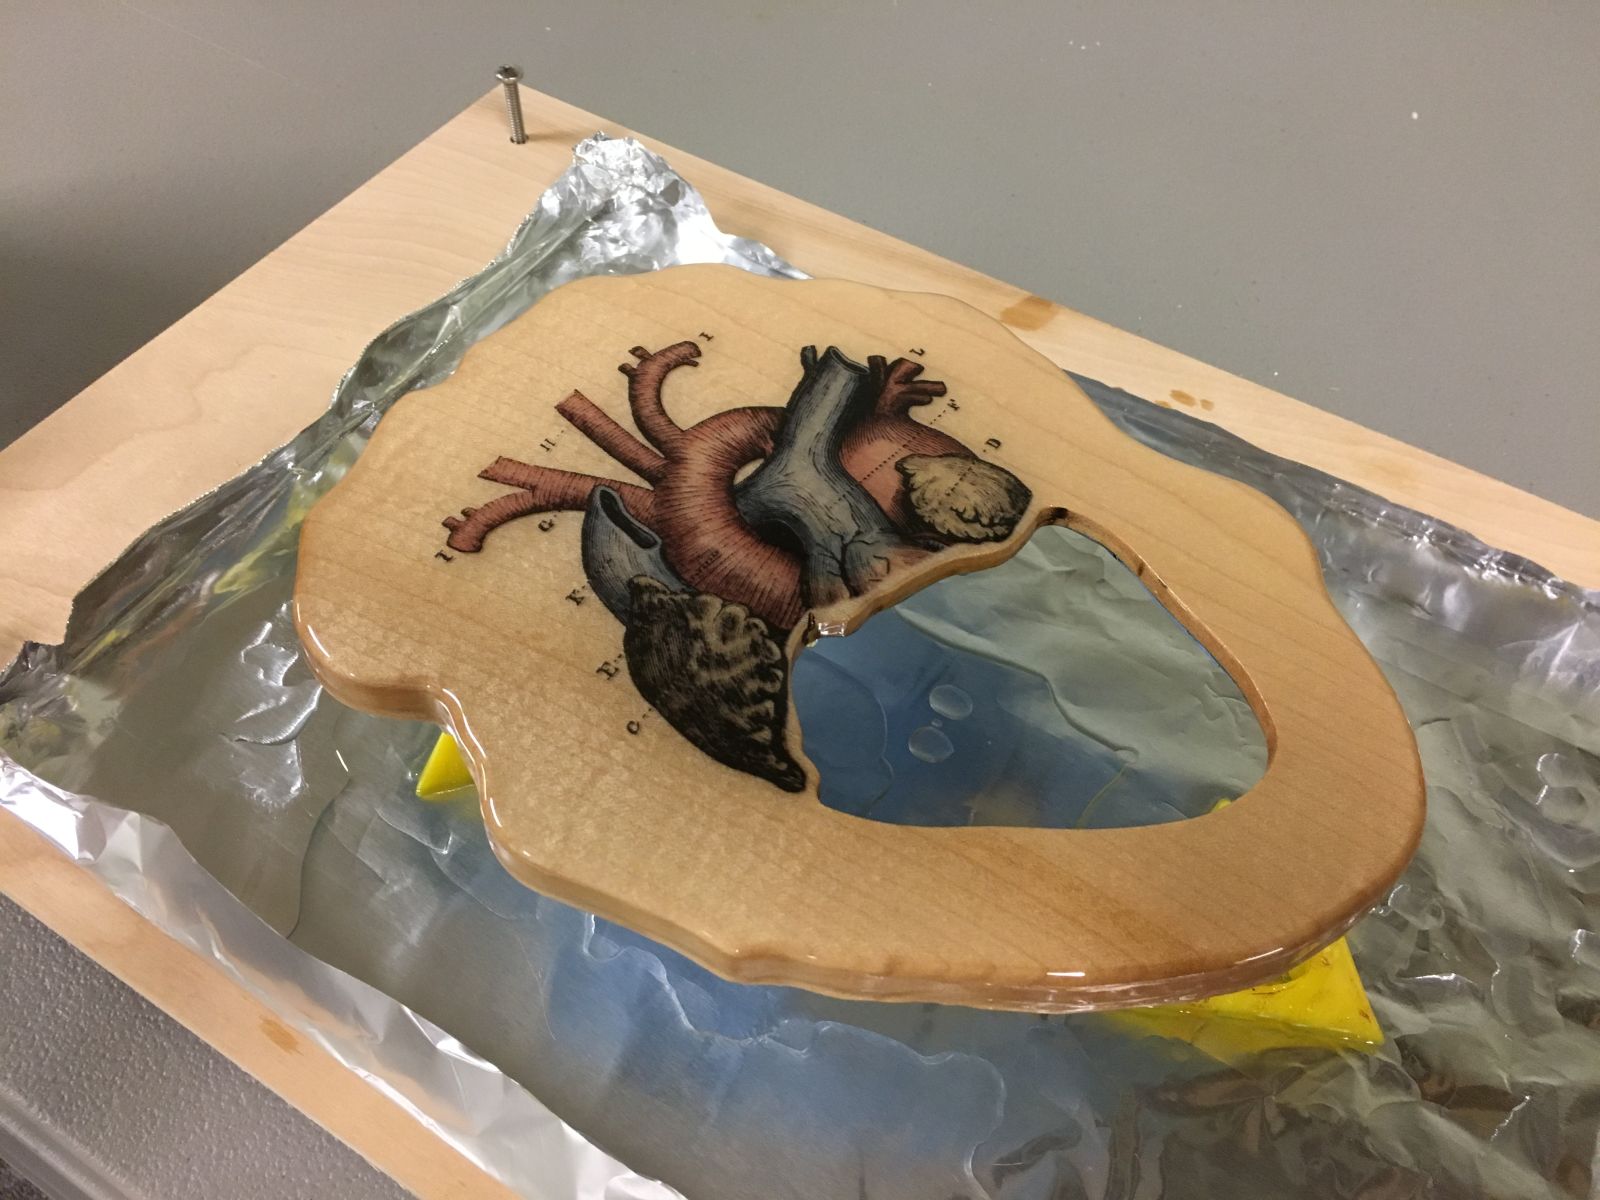
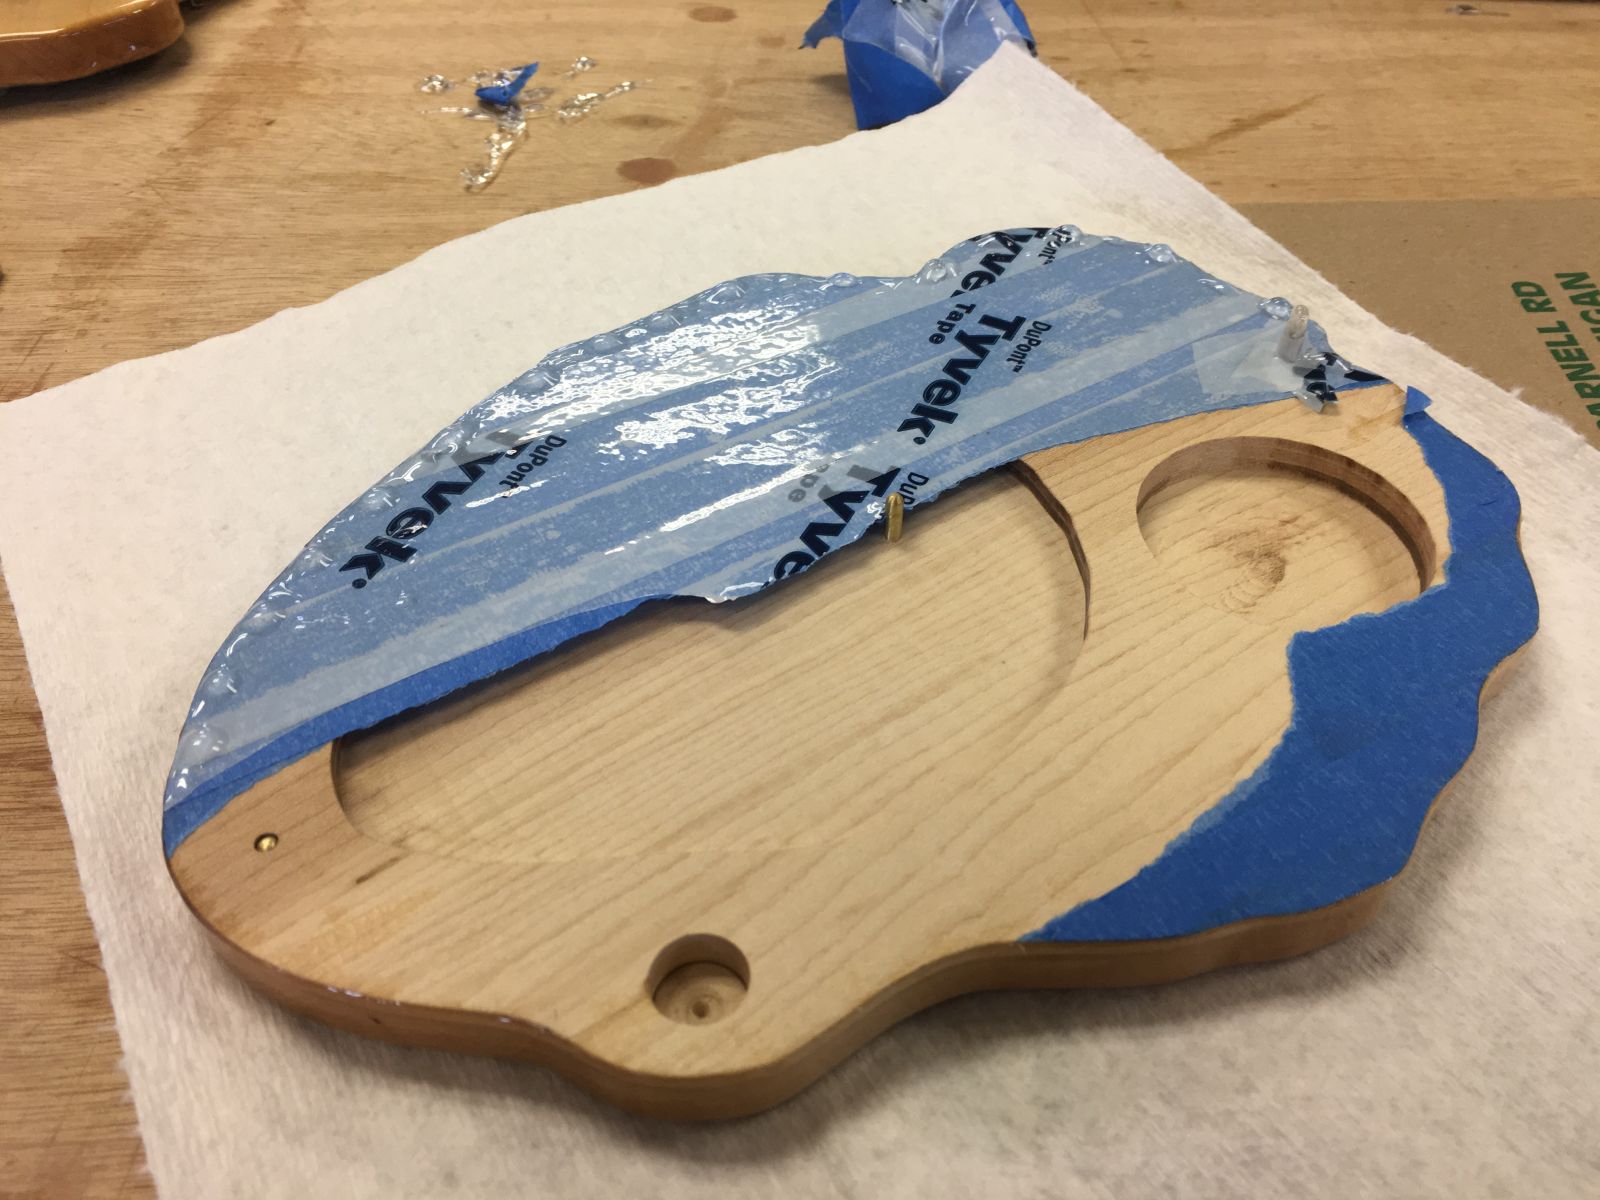
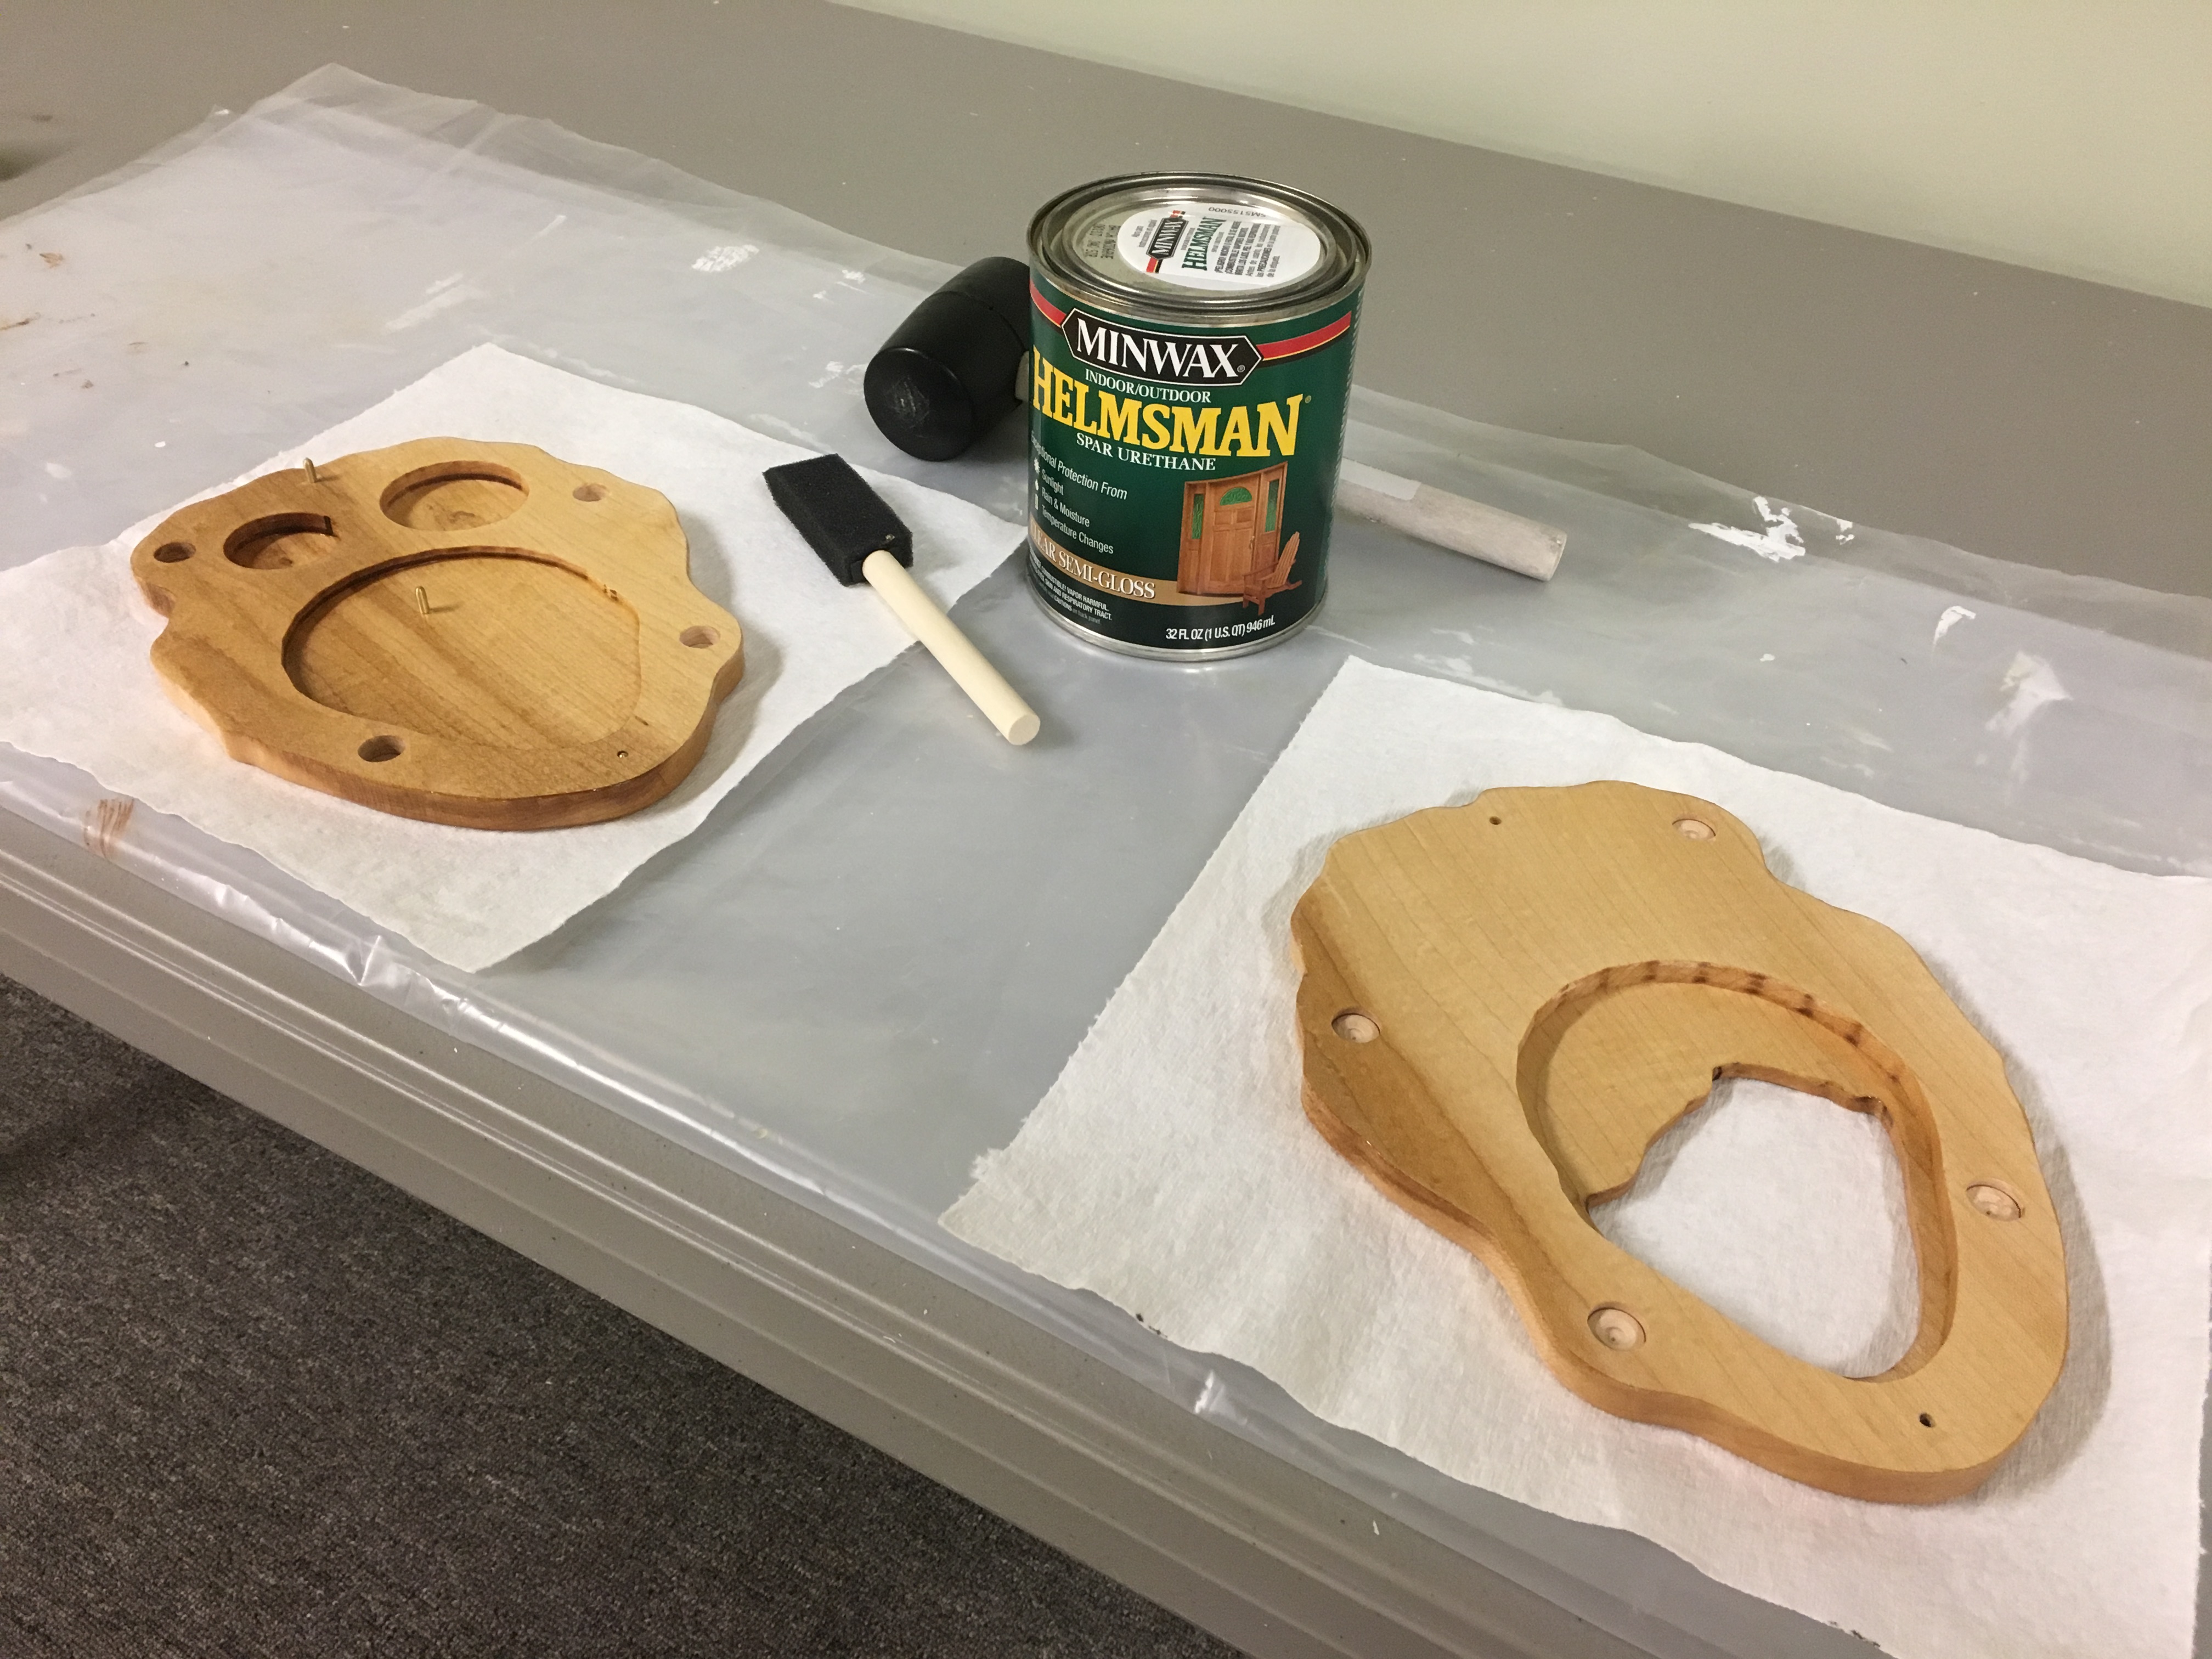
After completing some sanding and other details of the wooden components, it’s time to turn attention to the vinyl graphic attachment and finishing techniques. The modified heart graphic was printed on glossy inkjet-printable clear vinyl and a protective overlaminate film was added with a cold laminator. The inside surfaces of the back and front of the display case were masked with a layer of releaseable painter’s tape and a layer of nonporous Tyvek tape in preparation for coating with two coats of clear two-part epoxy. Once the first coat of epoxy was cured, the vinyl heart graphic was cut out with a fresh No. 11 blade and applied to the front of the display case. A second coat of epoxy embedded the graphic, rendering the clear areas nearly invisible. Two coats of spar urethane on the inside surfaces of the display case were applied and allowed to dry thoroughly.
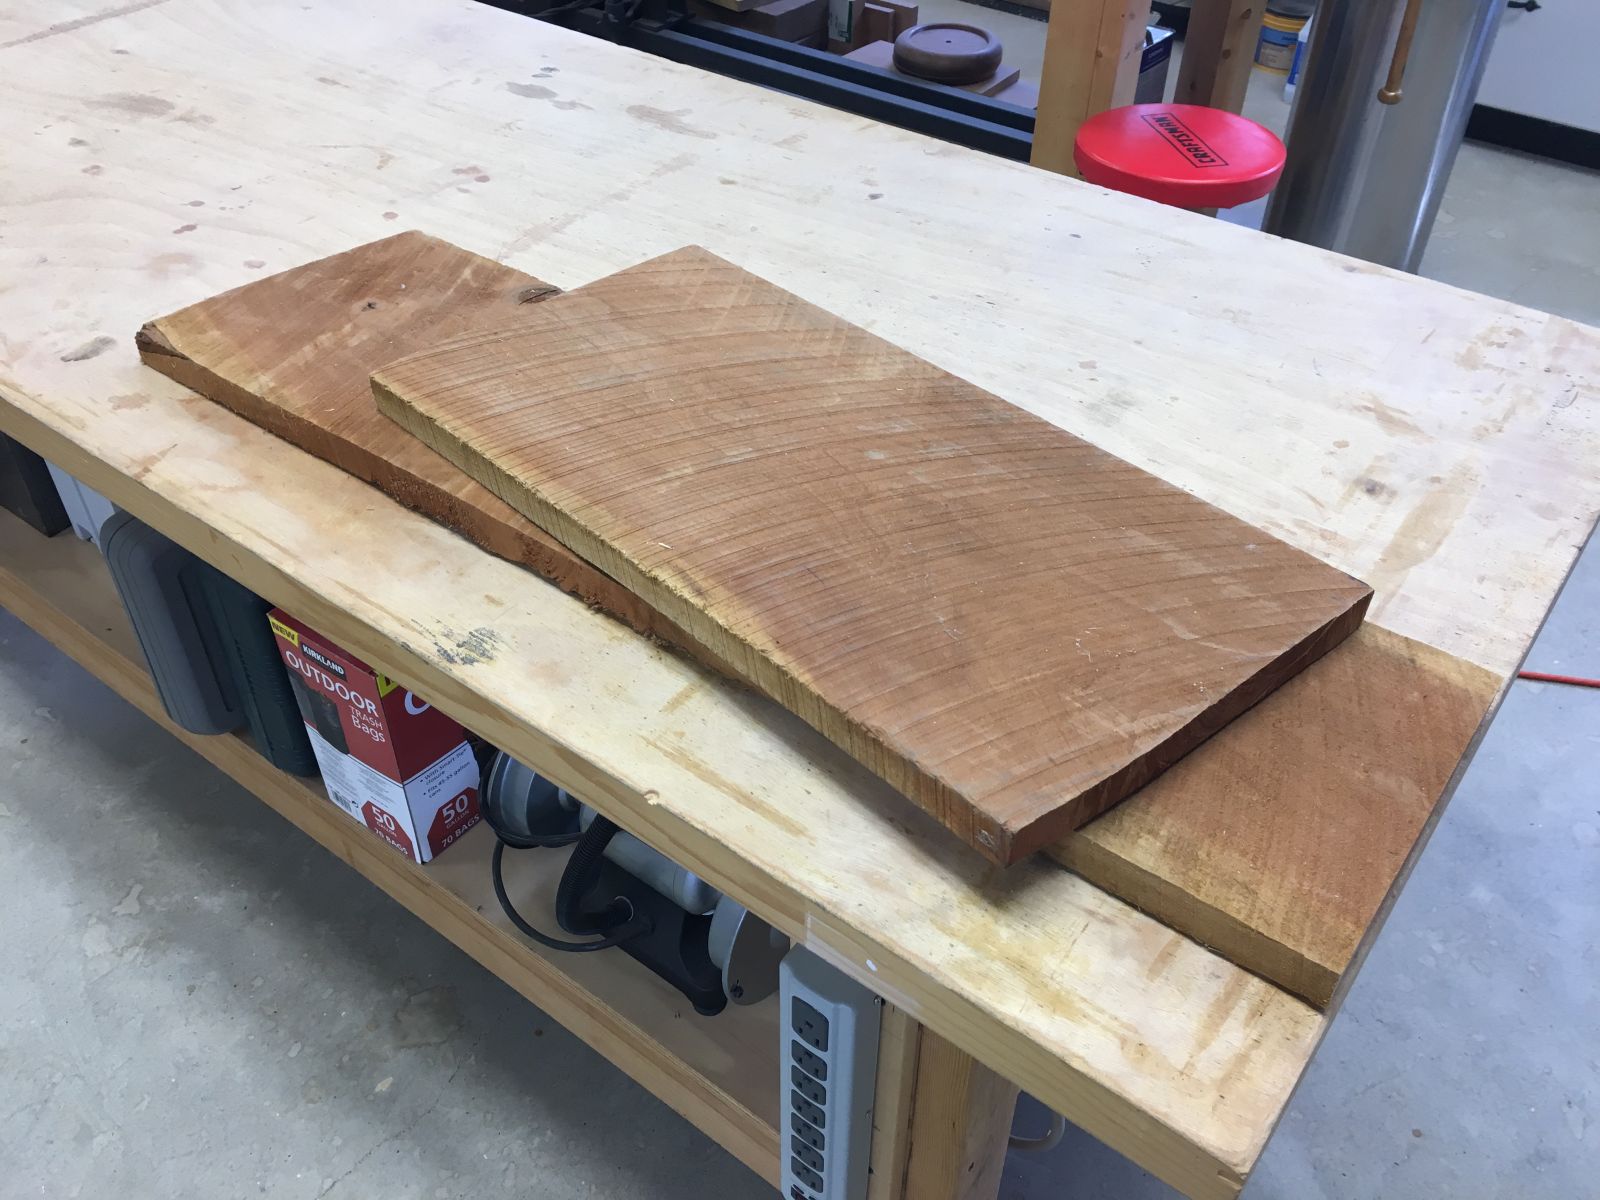
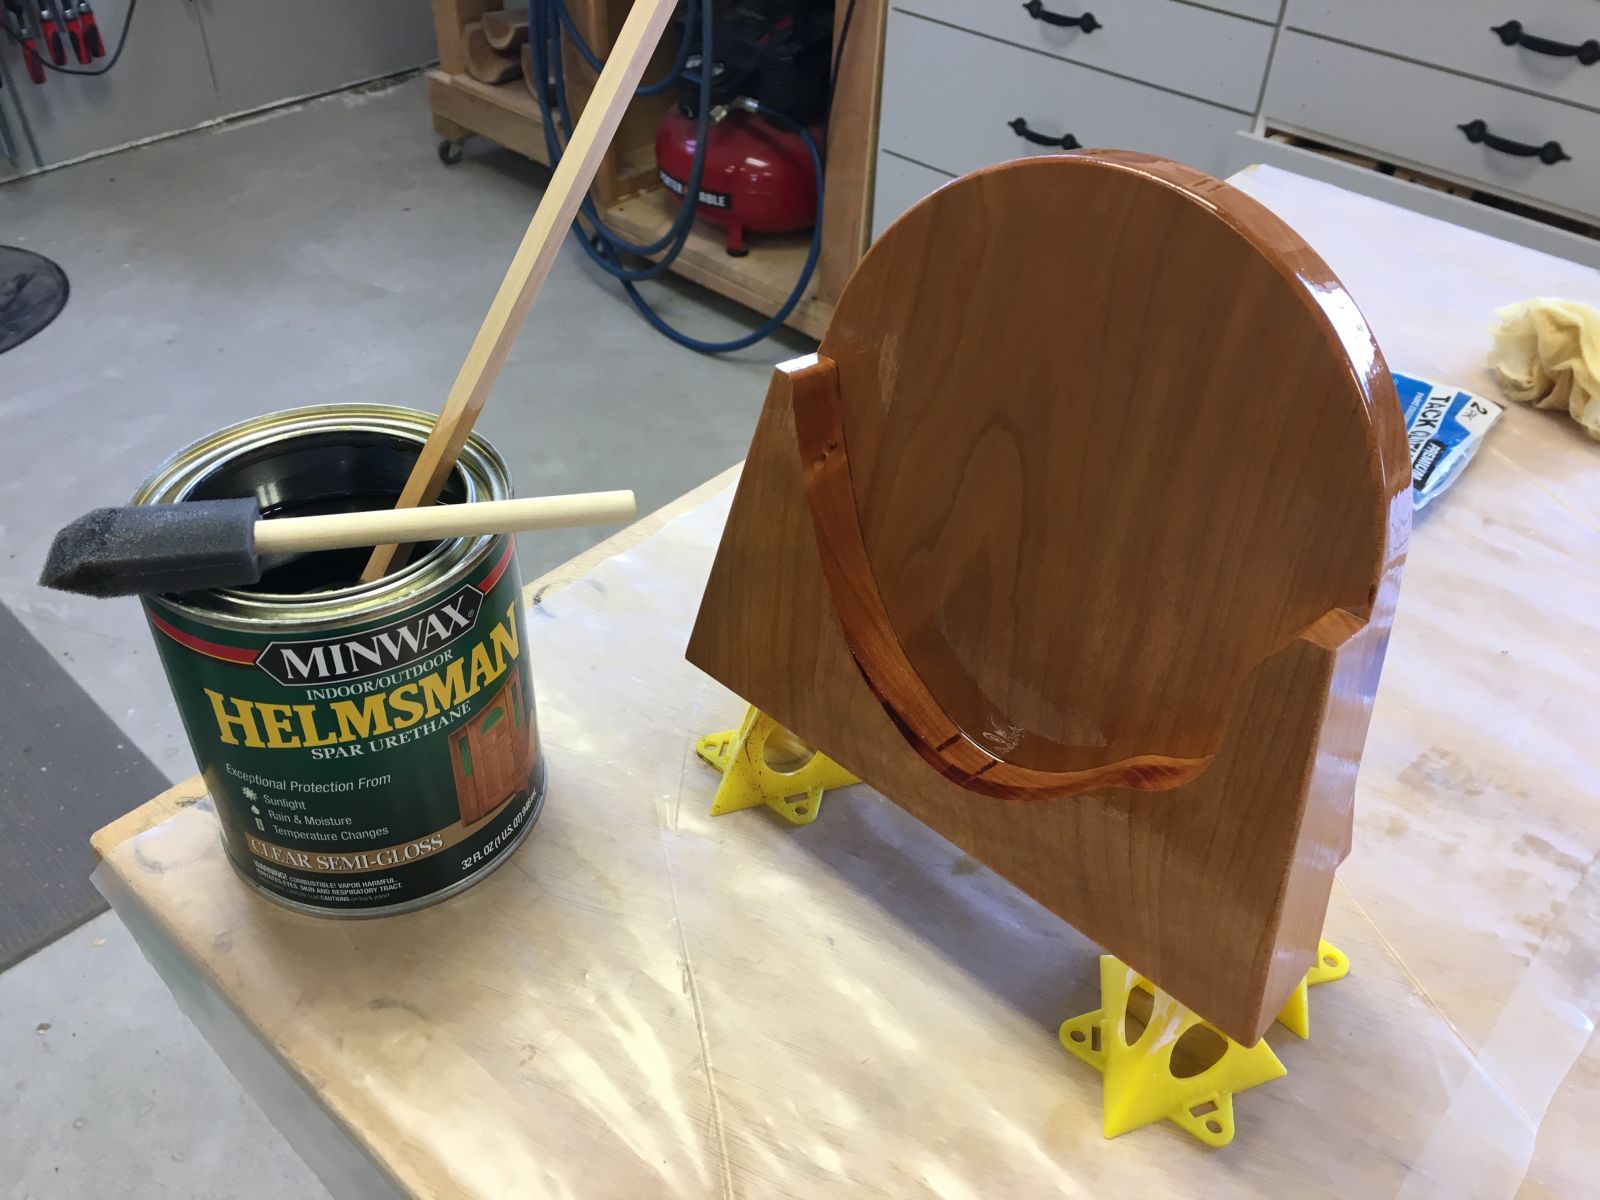
Cherry was selected to use in fabricating a desktop stand for the display case. A quick design in SketchUp and VCarve Desktop provided the data to build from. Two coats of spar urethane deepened the reddish hues of the cherry in a nice contrast to the light maple of the display case itself.
After magnets were epoxied in and the polycarbonate window was affixed with silicone, the last step was to flock the display case cavities and saddle of the display stand. Black Suede-Tex flocking was applied to the wet black adhesive with a very fancy (two cardboard tubes) Mini Flocker.
Based on sliding the magnets apart instead of pulling on them, opening and closing the display case is easy, but not obvious. I created this short YouTube video to provide a few tips:
This was a fun and challenging project that provided the opportunity to learn some new techniques and to buy a few new pieces of equipment. Thanks again, Stefanie, for allowing me to collaborate with you on this unique display case!
Here is a pictorial record of the project. Each picture is captioned with information about the step it represents.
Heart illustration, full color
Heart illustration, black and white
Heart illustration, muted colors
Heart illustration, sepia tone
Stefanie’s pendant arrives from Italy
The sacred heart pendant is very detailed
Hand flattening one of the maple blanks before planing to final thickness of just over one half inch each
Two maple blanks ready for some CNC work
Back of the front blank indexed to the jig
The CNC router zeroed at the lower left “0” corner
UCCNC control software sending the G code programming to the CNC router
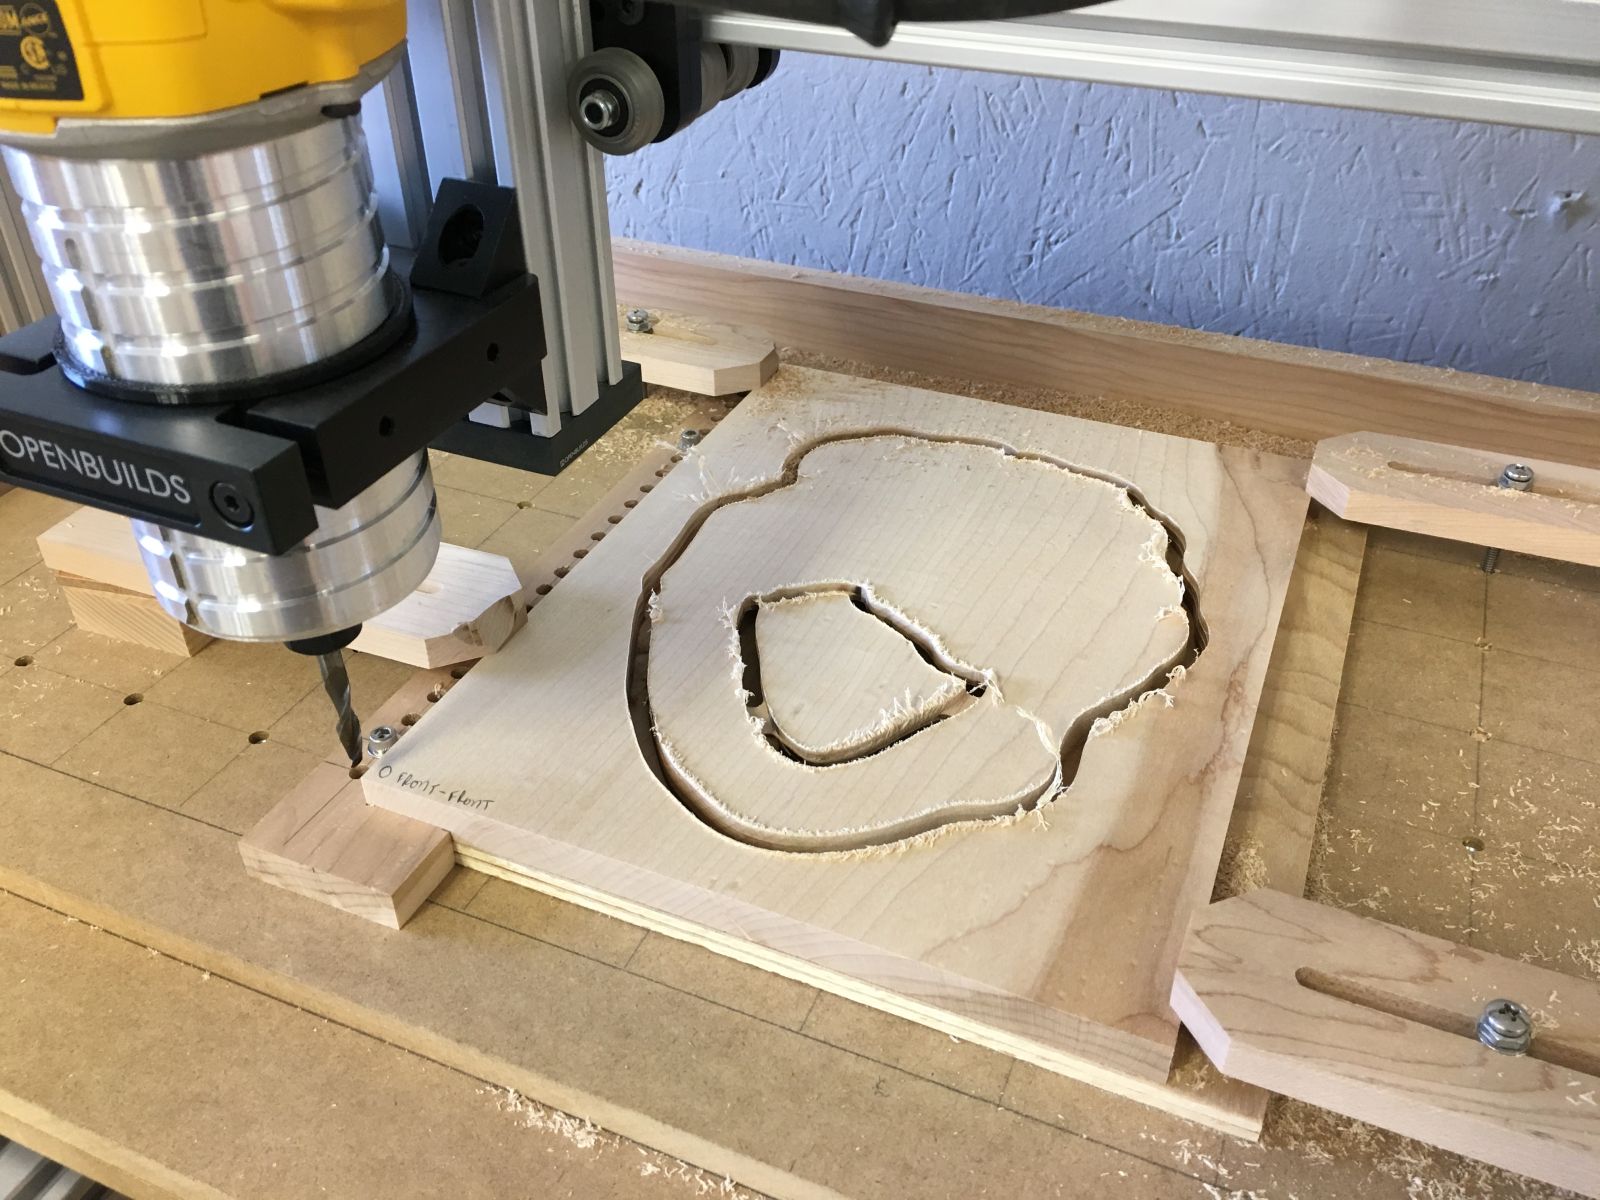
Cutting the large pocked in the back of the front blank
The front of the front blank, with the window cut out. Three tabs keep the waste in place, to be cut out by hand
Milling the final outline of the front blank
Front of the back blank, with the large pocket milled
Cutting two circular pockets in the front of the back blank, for chain and other storage
Cutting the outline of the back
Back, complete, showing large and small pockets, and four magnetic catch locations
Back and front, with machining complete
Front and back, with a quick sand to remove fuzzies
Final sizing magnet catch washer pockets at the drill press
Flush fit with a Forstner bit
Magnet cup locations finalized
Cutting the polycarbonate window on the CNC router
Used the same profile as the large pocket in the maple front, offset slightly smaller
Polycarbonate window with protective film still in place, fit to pocket
Front view, with window temporarily in place
Back and front pieces, cut from the rectangular blanks
Making brass alignment pins from 1/8″ brass rod
Closeup of brass pin with bullet nose
Bullet nose shaped on brass alignment pin with a mill file, while spinning in the lathe
Pad drilling alignment holes in back and front pieces
Sanding the edges of back and front pieces pinned together, on the oscillating drum sander
Laying out copies of the muted color heart illustration in InkScape
Inkjet printing heart illustrations on clear glossy vinyl
Vinyl heart illustrations for testing, printed on HP and Canon printers
Mock up of magnet catches and alignment pin
Ready to apply 1.0 mil overlaminate with a Vevor cold laminator
The 1.0 mil overlaminate is super thin and difficult to handle
The cold laminator applied the overlaminate perfectly
Cutting out the finished vinyl graphics with a No. 11 blade and cutting mat
Painters tape and Tyvek on the bottom of maple samples for testing varnish and epoxy coatings
Using 3M Super 77 spray adhesive to affix a vinyl graphic sample with a pressure sensitive adhesive backing seems like overkill
Notes for various test pieces
The spray adhesive overspray leaves a textured surface around the applied graphic
Two maple samples to be coated with spar varnish prior to applying the vinyl graphics. The pencil marks are for practice aligning the graphic to the opening in the display case
Ready for epoxy coating a maple sample, prior to applying the vinyl graphic
Gram scale with 0.01 g resolution for mixing the two-part epoxy components by weight
Using enough epoxy to allow it to flow across the sample surface and self-level seems to be the key to a successful coating
The heat gun was ready to help eliminate any bubbles in the epoxy, but was not needed on this pour
Top portion of test graphic pealed back so the bottom edge can be used for alignment
Test graphic applied to maple sample with one coat of spar urethane and light sand at 320 grit. Pencil line is only for alignment practice
Test graphics applied to maple samples with one coat of spar urethane (L) and one coat of epoxy resin (R)
Ready to apply top coat of epoxy resin
Self-leveling dose of epoxy resin applied. Used foam brush to break surface tension at edges to allow epoxy resin to flow down the sides of the maple sample
Epoxy applied to graphic and maple sample with undercoat of spar urethane
Epoxy applied to graphic and maple sample with undercoat of epoxy resin. Note: Visible dark edges of test vinyl graphic are due to a bad trimming job on my part. I’ll do better on the final product!
Epoxy pouring setup, showing leveling board to allow even distribution of self-leveling epoxy resin
Locating the brass pin after having a custom silver jump ring fabricated by Jewelry Set In Stone
A plastic card with 1/8″ holes drilled in it used to protect the wood while cutting the brass pins with a small cutoff wheel in the Dremel tool
Dremel set up with the flexible extension
Brass pins flush on the back of the back
Sacred Heart pendant positioned in the display case
A layer of painter’s tape covered with a layer of Tyvek tape provides a releasable, impermeable barrier to the epoxy drips that cling to the bottom of the workpiece after the epoxy pour on the top surface
Trimming the mask with a No. 11 blade and cutting mat
Masking on the back of the front piece got a little involved
Front and back masked and ready for epoxy
First coat of epoxy on the back of the back shows a glass like surface
For the self-leveling epoxy to flow correctly, the workpiece has to be very level. A leveling board with adjustment screws in each corner works to fine tune the setup
Initial epoxy pour in the early stages of self-leveling
A foam brush is used to break the surface tension at the perimeters, so the epoxy will flow down the vertical sides
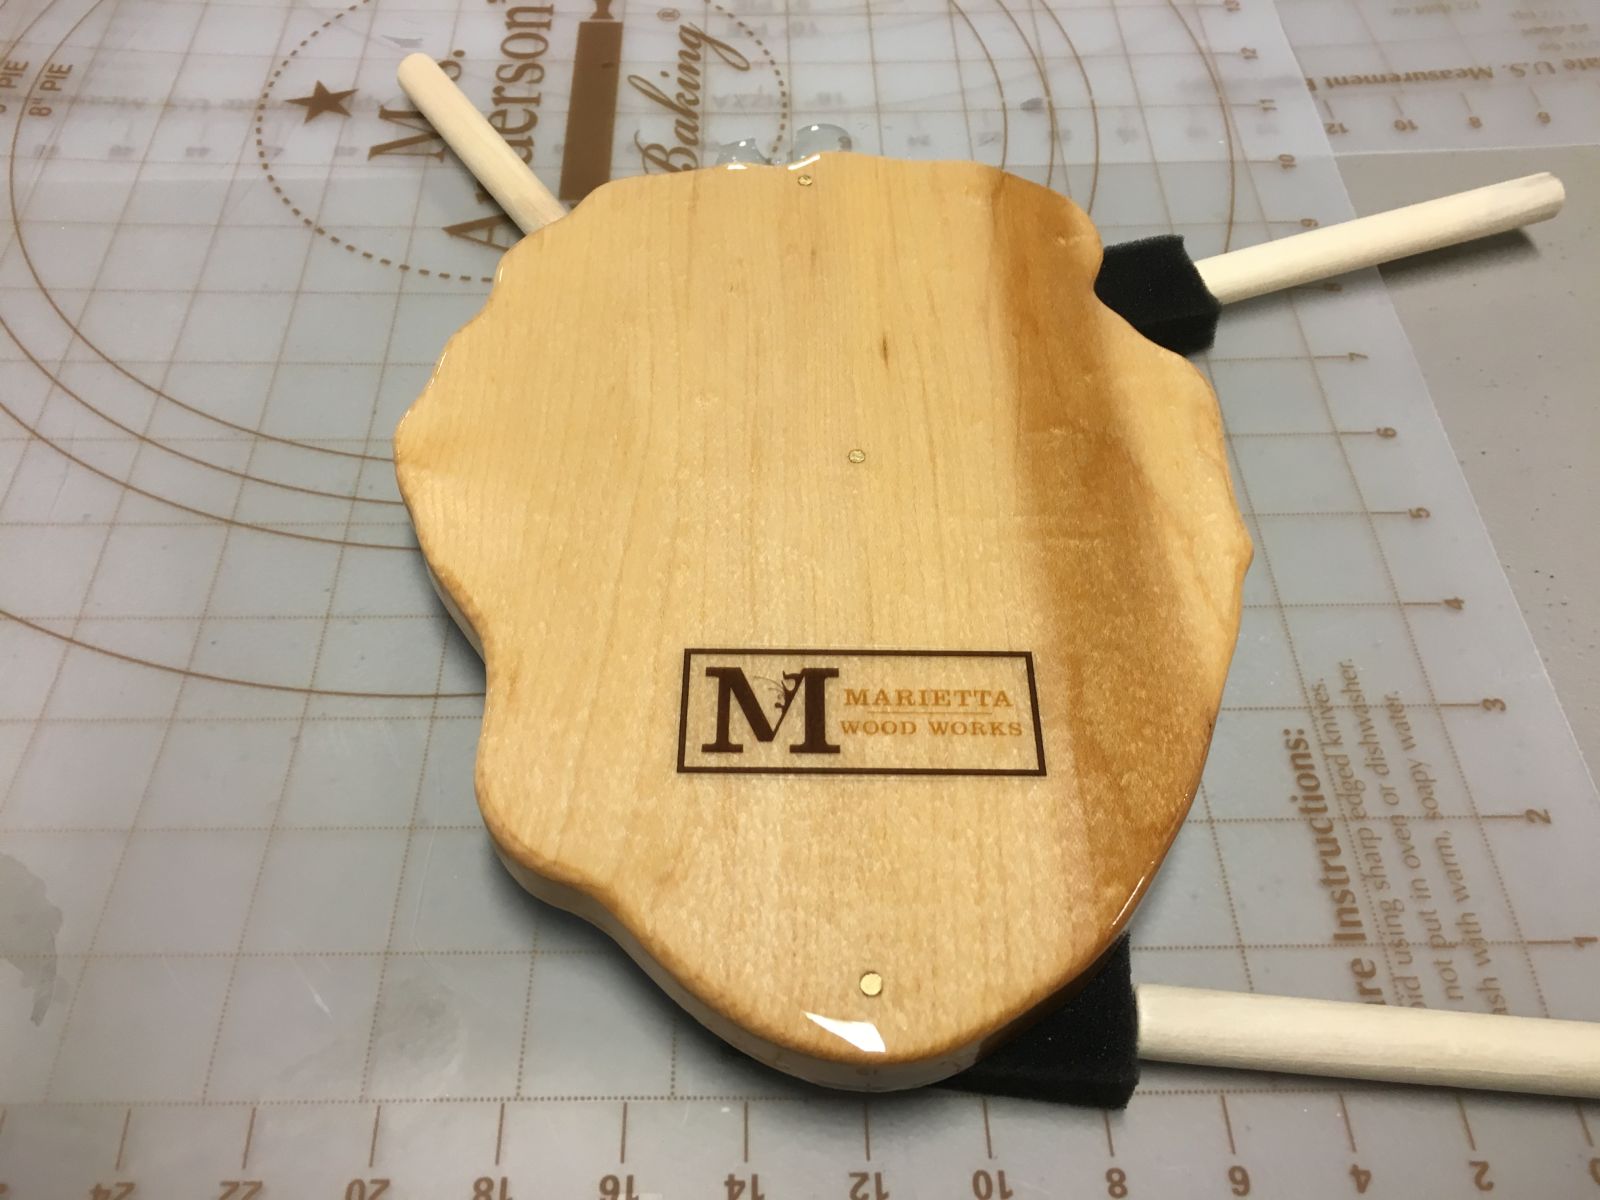
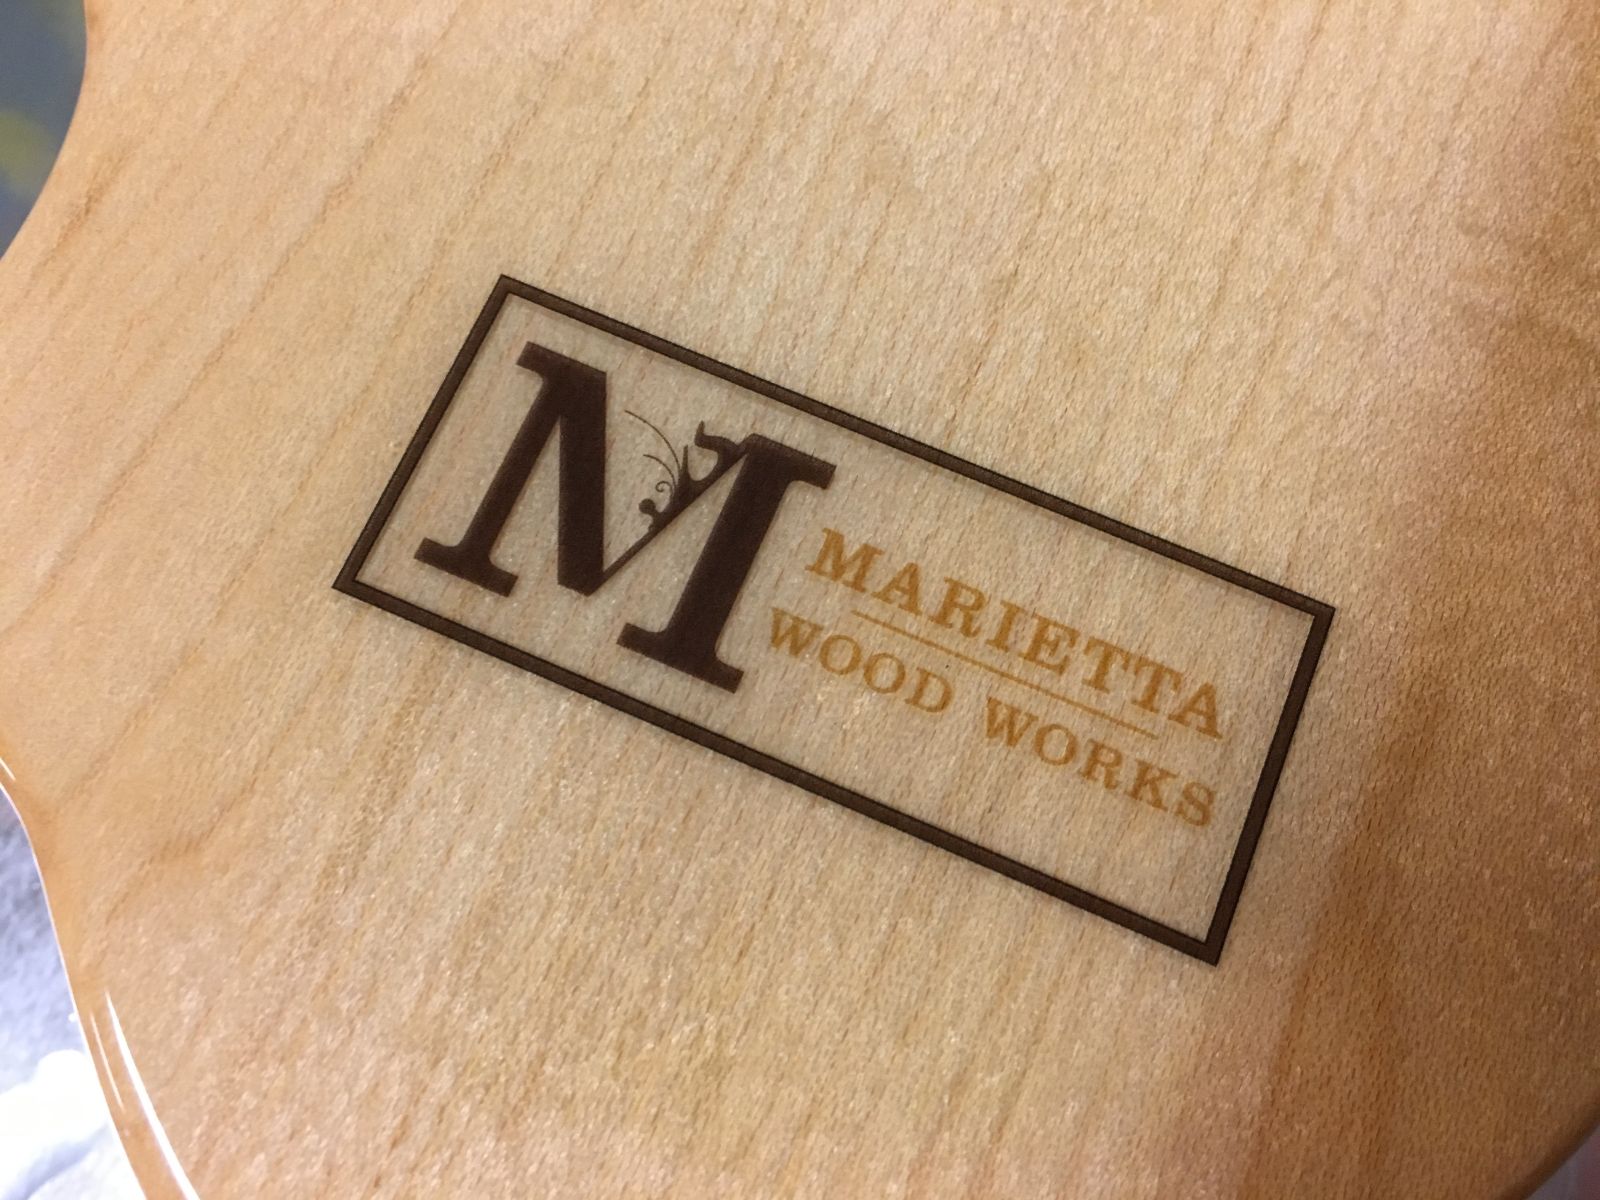
Marietta Wood Works logo vinyl graphic applied
Fine tuning the heart graphic trimming and positioning
The moment of truth … applying the heart logo
Successfully applied heart graphic, ready for second coat of epoxy
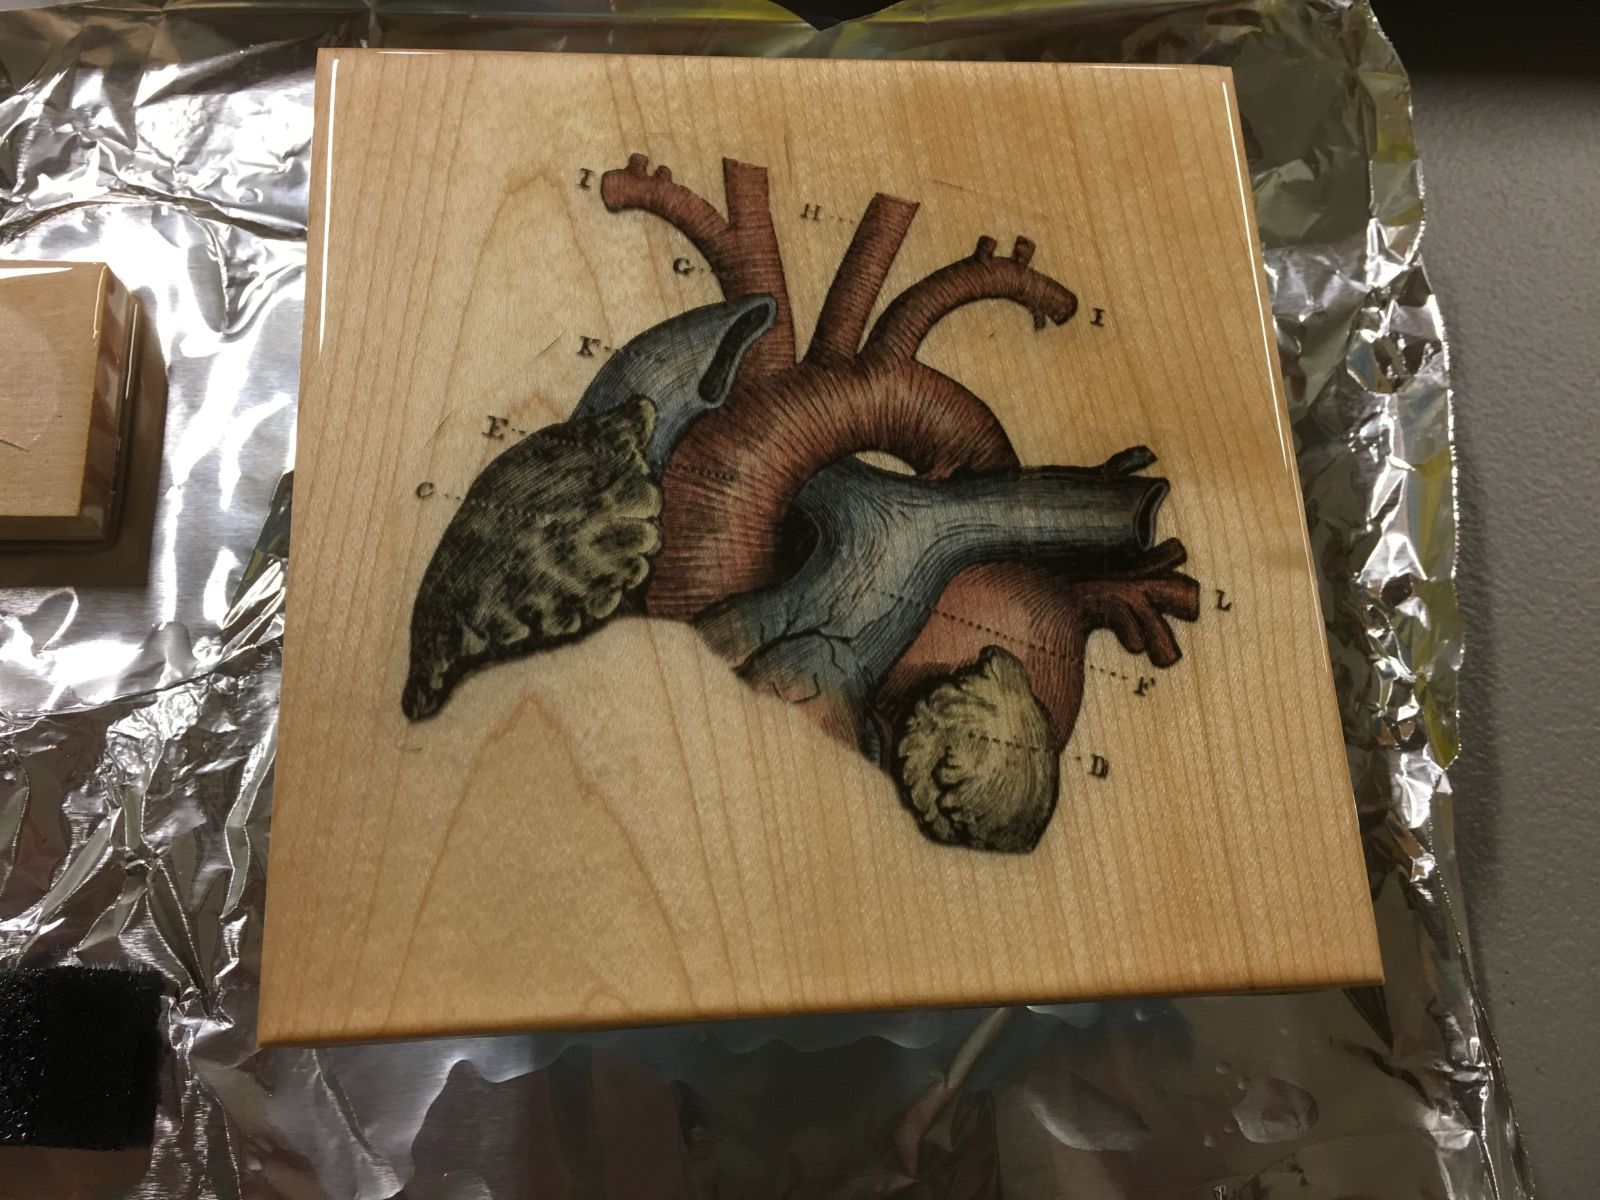
Heart graphic embedded with second coat of epoxy
The painter’s tape and Tyvek masking worked great as little cleanup was needed after the epoxy cured
Front and back halves with finished vinyl graphics and epoxy coatings
Two coats of spar urethane on the inside surfaces of the display case
Roughsawn cherry from my brother’s yard
CNC milling the contour of the display case to create a nice seat
A quick design of the stand in SketchUp made fabrication straightforward
Laying out the top curve to be cut on the bandsaw
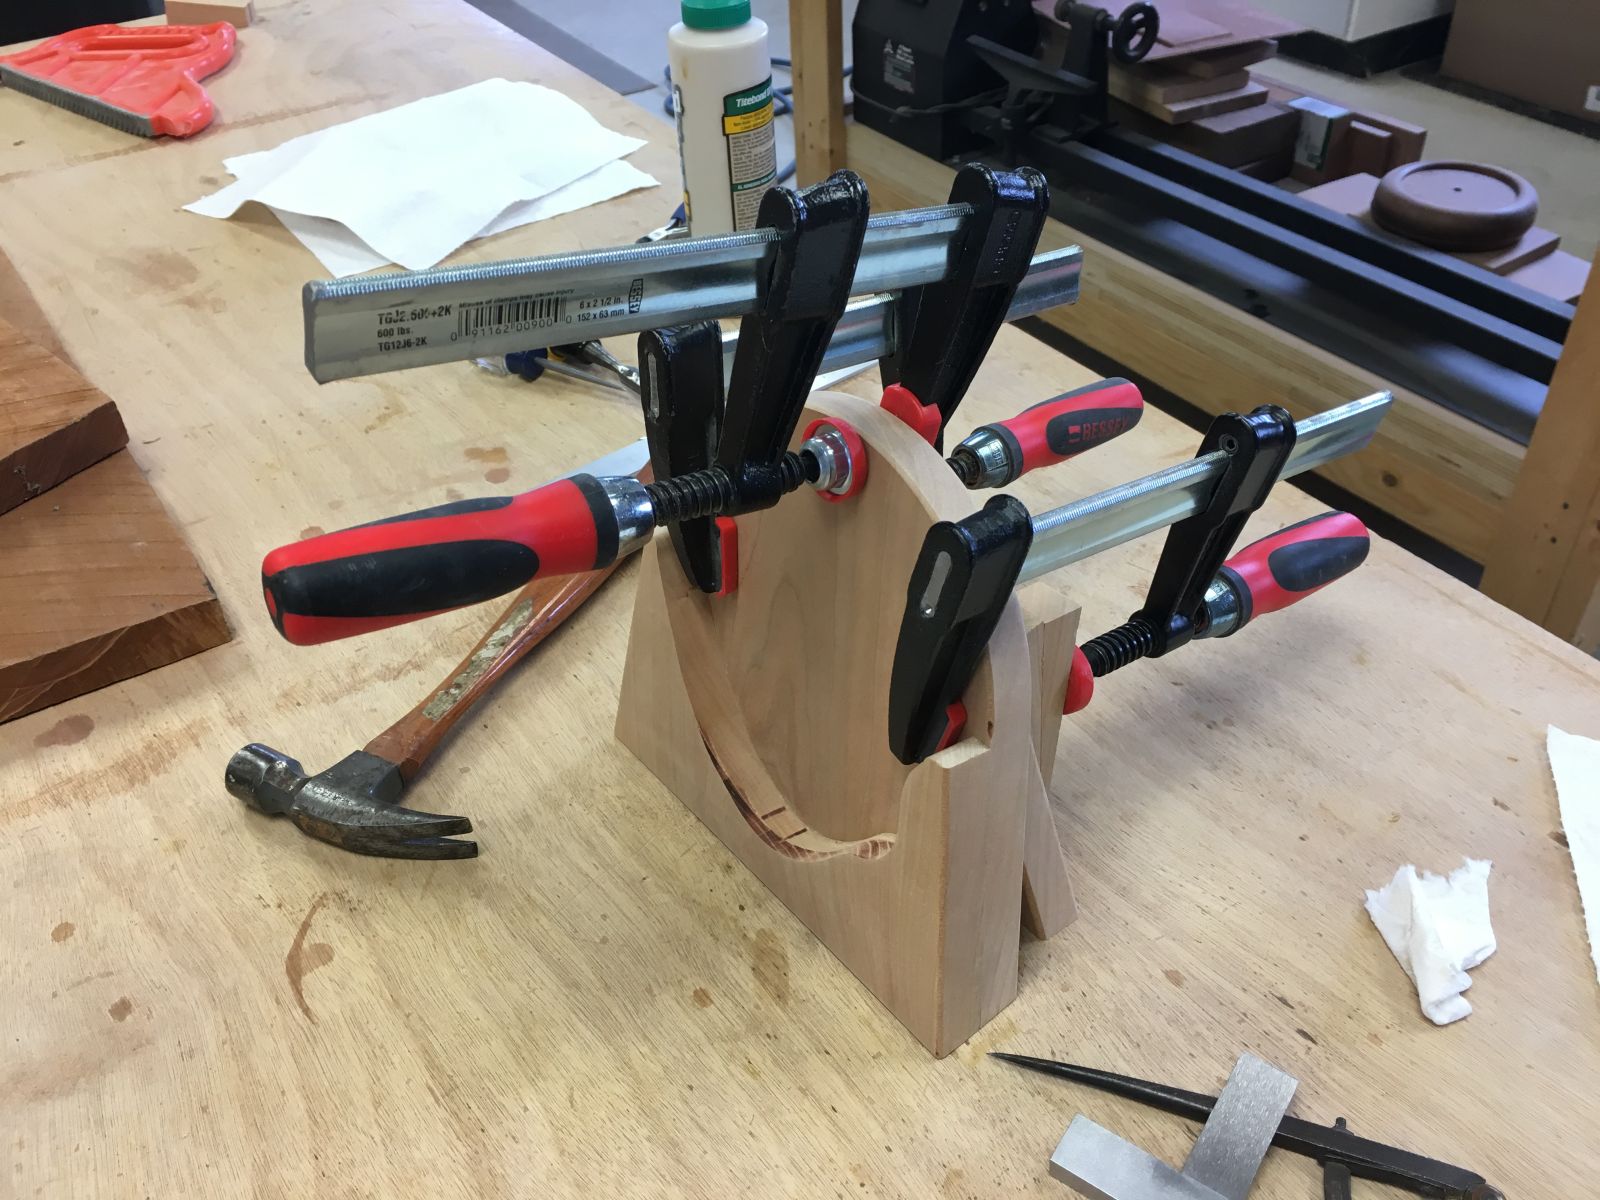
Gluing up the three pieces that went into the stand design
First test of the stand and display case … it fits!
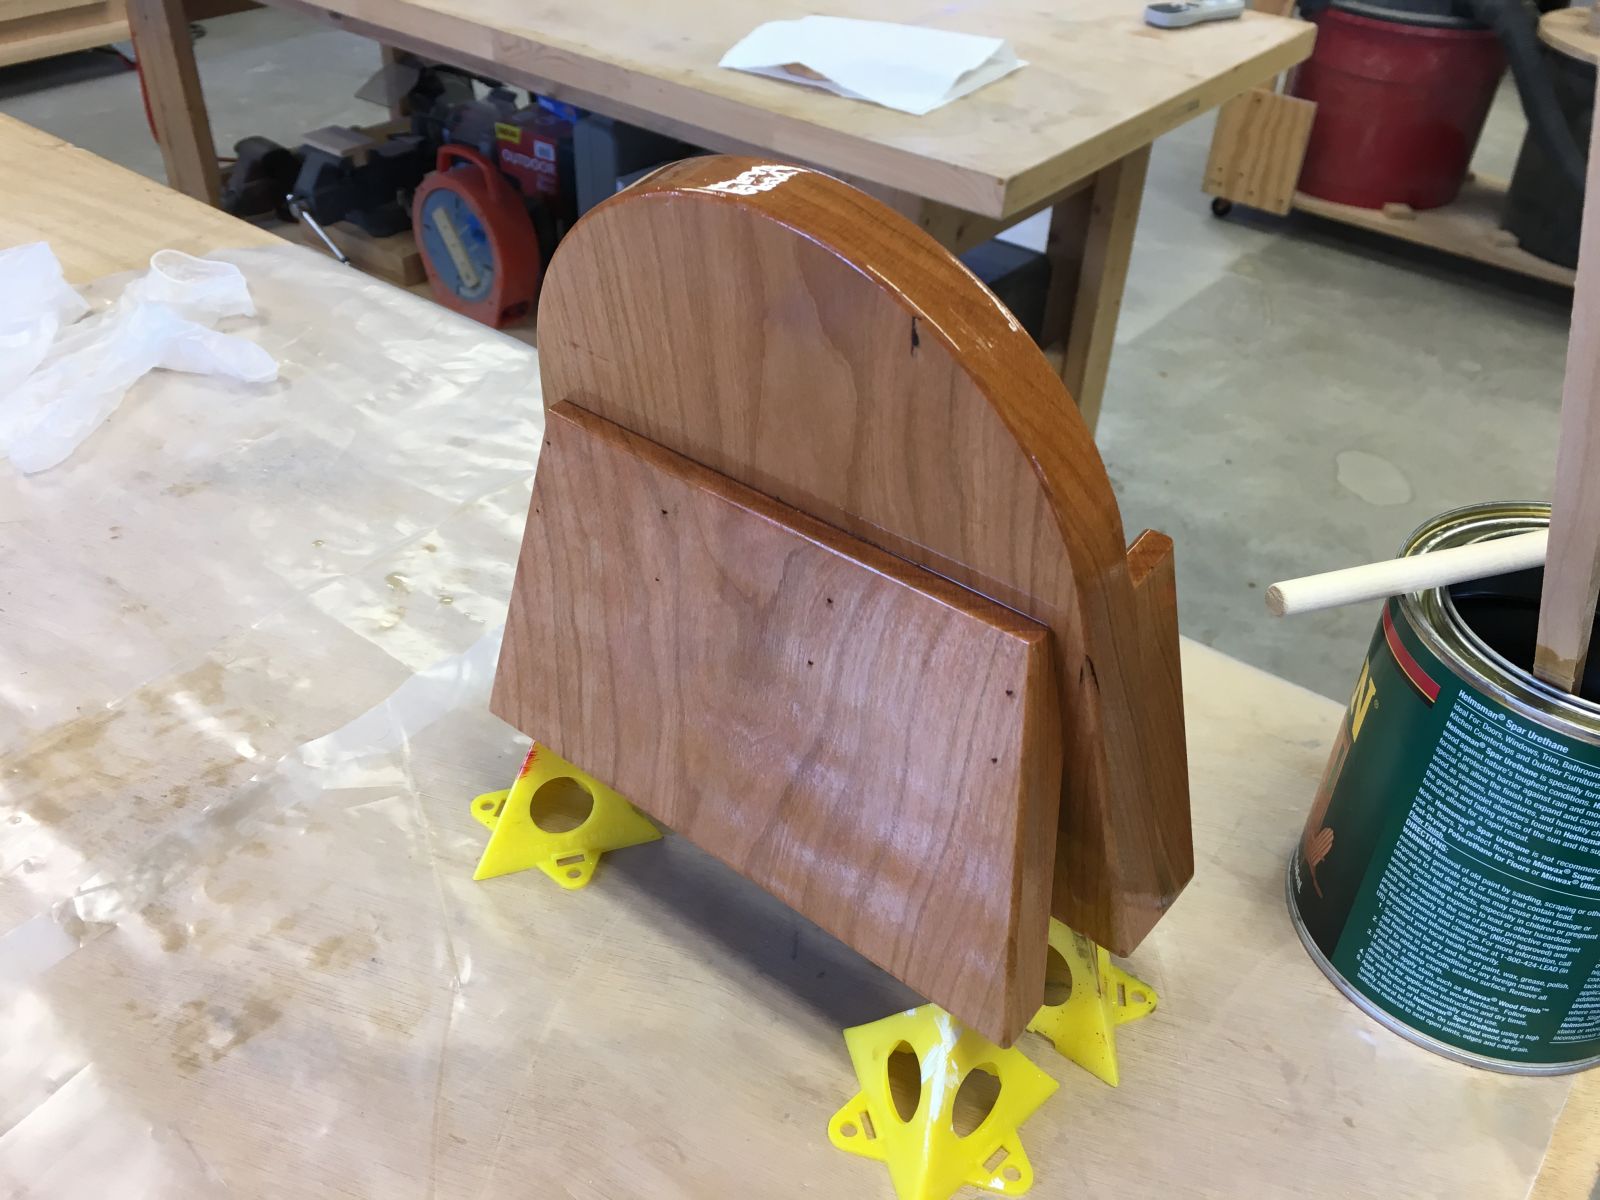
A couple of coats of spar urethane on the bare cherry wood deepened the natural reddish hues
A very light bead of silicone secured the polycarbonate window, still with the back layer of protective film here
4400 PSI two-part five-minute epoxy should hold the four magnets in place
Washers expoxied in place on the back of the front
Display stand masked and adhesive applied, ready for suede texture flocking
Flocked with the Mini Flocker
Masking the back off for flock application
Flocking adhesive applied
Back cavities with flocking applied to adhesive
After 24 hours to cure, the masking was removed to reveal a successful flocking job
Completed project ready to ship
Completed heart graphic detail
Sacred Heart pendant detail through the display case window
All packaged and ready to ship!
The original Sacred Heart Display Case
SketchUp model of our display case design. (The colors are not yet finalized.)
Exploded view of our display case design. (The colors are not yet finalized.)


 and one coat of epoxy resin (R)")


")
")