This coffee table will complement a new sectional in my son, Kyle’s living room. We collaborated with a few rounds of emails until the design below was settled on. It features a 6/4 white ash top with breadboard ends and heavy duty steel hairpin legs. The top will receive a light brown stain and the legs will be primed and painted black. The overall dimensions are 17 1/2 H x 22 W x 36 L. The top approximates a Golden Rectangle, respecting the Golden Ratio of 1.618 : 1, which also can be observed in the way trees grow, in the proportions of both human and animal bodies, and in the frequency of rabbit births.
After preparing and sending eight varnished stain samples (actually seven stains and one no stain) on white ash, Kyle chose Minwax Puritan Pine to go with his existing wood furniture and floors. The coffee table top will be sealed with several coats of Minwax spar urethane in a satin gloss level.
Been saving this 12″ wide by almost 10′ long 6/4 white ash board for a special project. Today’s the day!
Passes preliminary coffee table testing with flying colors!
The heavy duty 16″ tall hairpin legs are in the shop.
From hairpinlegs.com, these raw steel legs will be primed and painted black.
Cutting the ash board to rough lengths … glad I measured twice!
Project materials ready
Approximate layout of boards to form the coffee table top.
Jointing one face flat and one edge at 90 degrees.
Pencil marks to tell when the entire face has been planed.
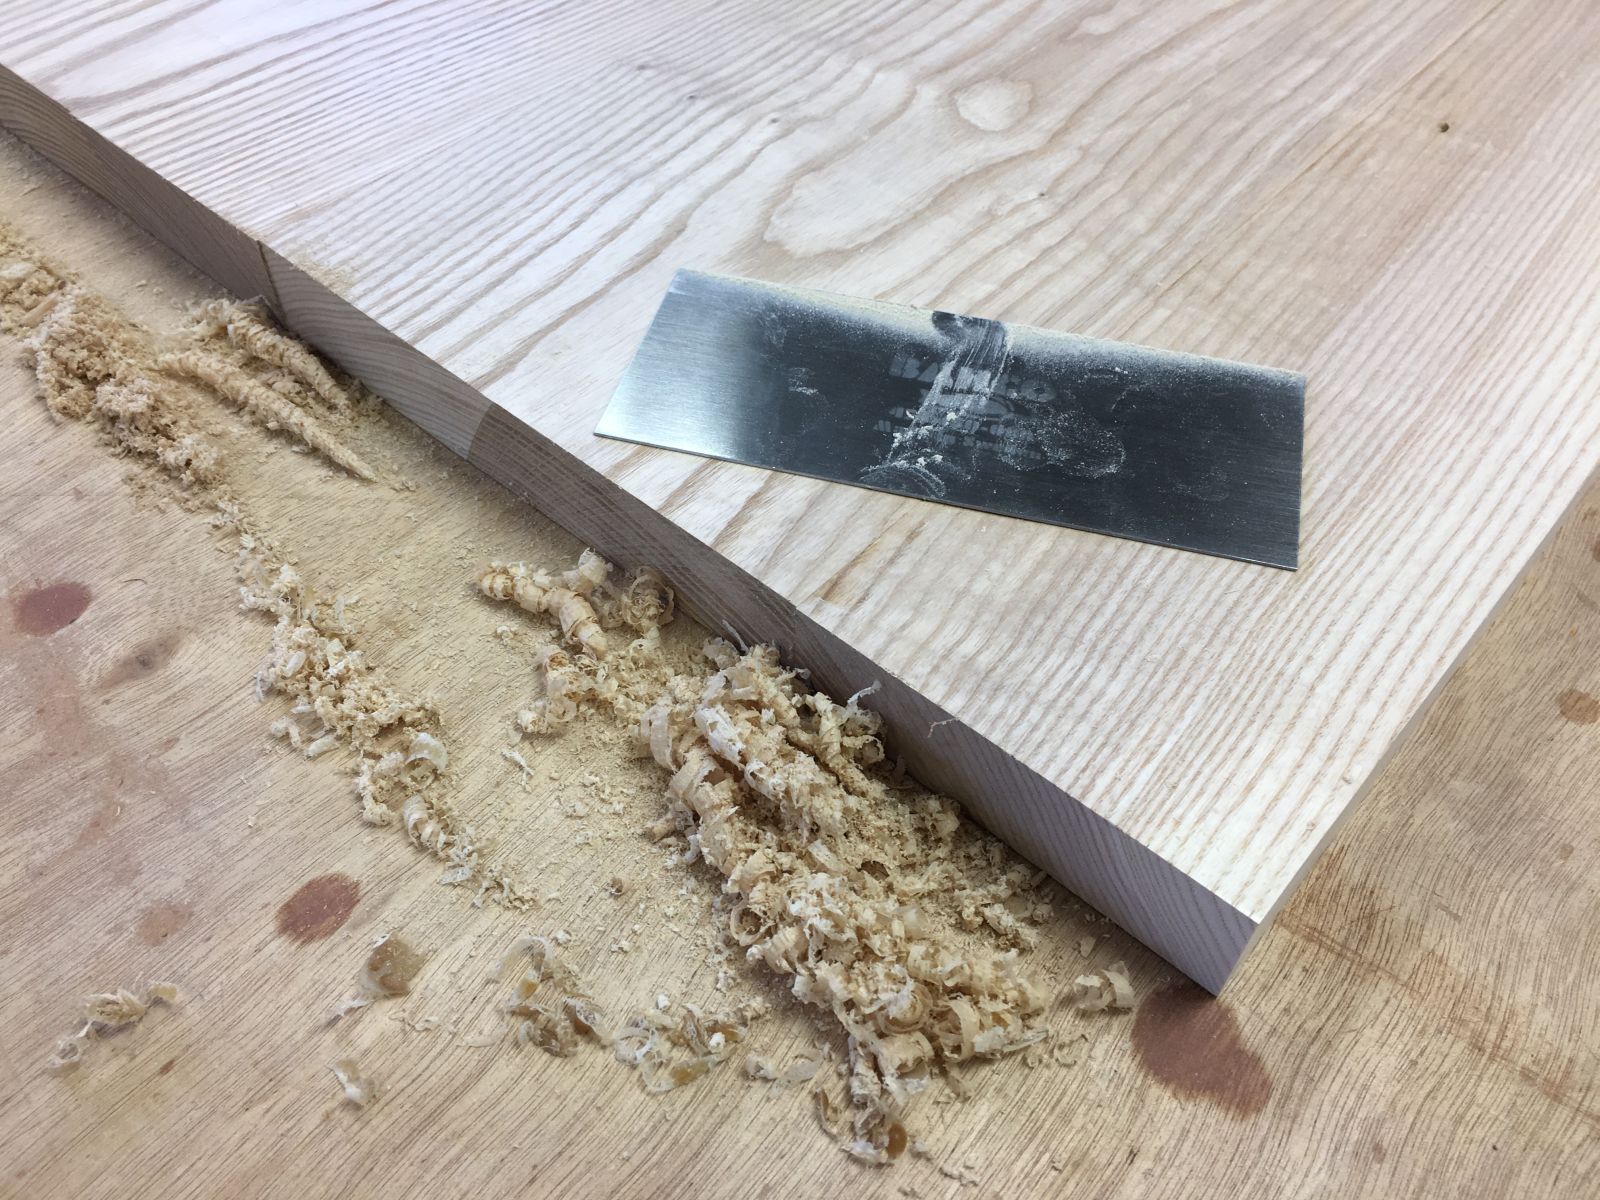
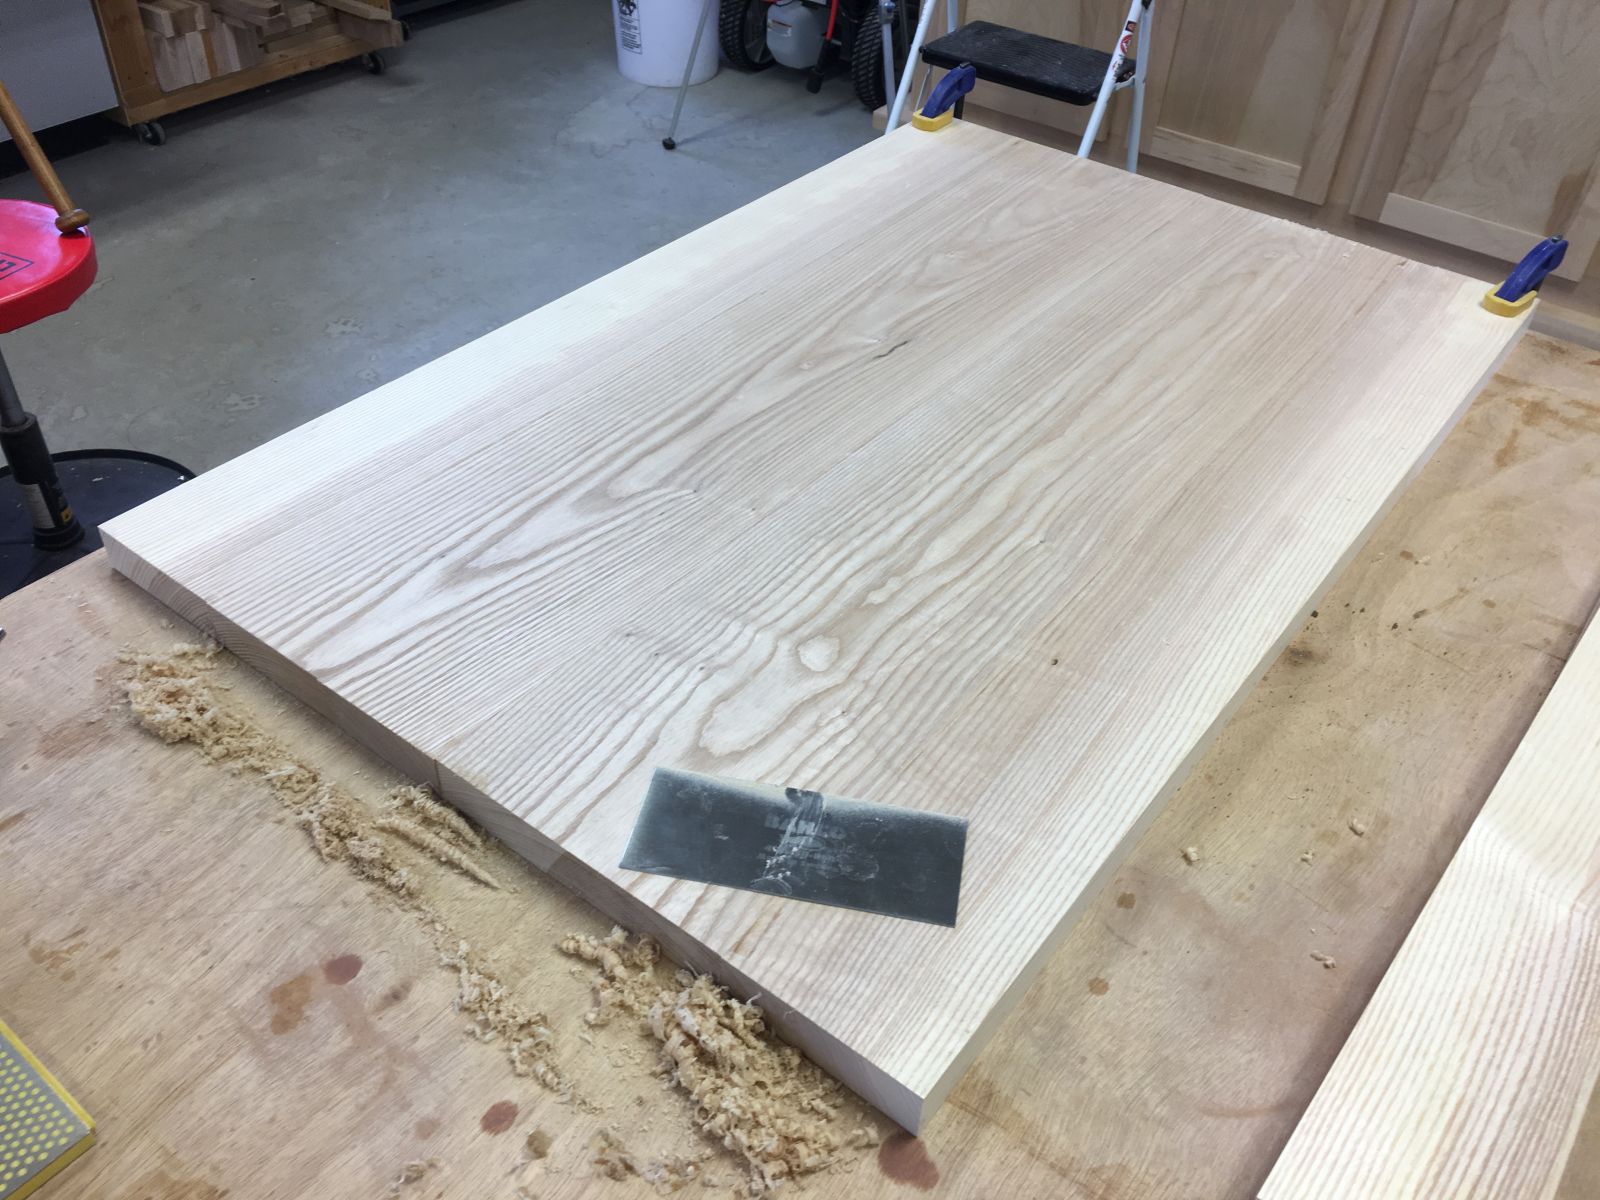
Jointed and planed, white ash cleans up beautifully.
Planing to clean up faces and make all boards a uniform thickness.
Shop drawings – cover page
Shop drawings – exploded view
Shop drawings – details
Shop drawings – details
Dry clamp up of jointed middle and end boards.
Generous application of Titebond III for edge gluing.
Since PVA glue is slippery until it cures, the small clamps keep the boards aligned at their interfaces.
Trimming one end square with the track saw
Trimming square and to length on the table saw
Forming the end tenons with a dado blade on the table saw
Cleaning up the tenons with a block plane
Trimming the tenon sides with a back saw to allow for wood movement
Half-inch holes to allow for dropping the breadboard ends over the router bit to form the mortises in the breadboard ends
Router setup using a quarter inch solid carbide spiral upcutting bit (which is “upside down” in the router table so it will pull chips out of the mortise
Forming the mortises with shallow passes on both sides to assure it is centered
Final position of router bit for cutting 1 1/4 inch deep mortises in the breadboard ends
Dry fit showing the (way bigger than needed) clearance to allow for wood movement of the top inside the breadboard end
Transferring pilot holes from the breadboard ends to the main field of the top
Drilling the quarter inch clearance hole in the center of the half inch counter bores
Drill press setup for drilling the breadboard ends in multiple steps
Breadboard ends are only glued in the center three or four inches, and the holes for the outer two screws are elongated to allow for wood movement
Driving the 3 1/2 long center screw through the breadboard end into the edge of the top
Red oak dowels to plug the counterbores in the breadboard ends
The very porous exposed end grain of the red oak dowels will pick up more stain and be darker than the surrounding wood
White ash coupons for stain samples
Satin Dark Walnut for the steel hairpin legs
Wiping the raw steel hairpin legs with denatured alcohol
Drilling pilot holes for hairpin leg positions on the bottom of the top
A Vix self-centering bit accurately transfers the hole centers from the leg plates to the underside of the top
First step in painting the hairpin legs is mounting surface
Three Minwax stains and Pre-Stain Conditioner to make six stain samples
R to L: Special Walnut, Puritan Pine, and Natural
Special Walnut, conditioned in the front
Puritan Pine, conditioned in the front
Natural, conditioned in the front
Hairpin legs ready for paint
Hairpin legs with three coats of Rustoleum Dark Walnut (Satin)
Filling a small instance of insect damage in the top surface of the table
Added a darker heartwood sample of Special Walnut (left, closest to can)
Sanding white ash plaques from the project board for stain samples
Four plaques, eight sides, ready for sample stains
Lighter Minwax stains
No stain, and darker Minwax stains
Hairpin legs temporarily attached to top
Final sanding of top with 120, 150, 220 and 320 grit
Marietta Wood Works brand on bottom of top, with white ash test piece
Brand after final sanding
Puritan Pine stain being applied to bottom
Bottom stained, wiped and dry
Two applications of Minwax Puritan Pine stain on top and sides (still wet here)
Top stained, wiped and dry
Bottom ready for first coat of Minwax spar urethane, satin gloss level
First coat of spar urethane, (still wet here)
Packed up and ready for shipping
Coffee table Looking great in Kyle’s living room, alongside the beautiful handmade quilt from Linda!


 clearance to allow for wood movement of the top inside the breadboard end")


")

")


")


")


